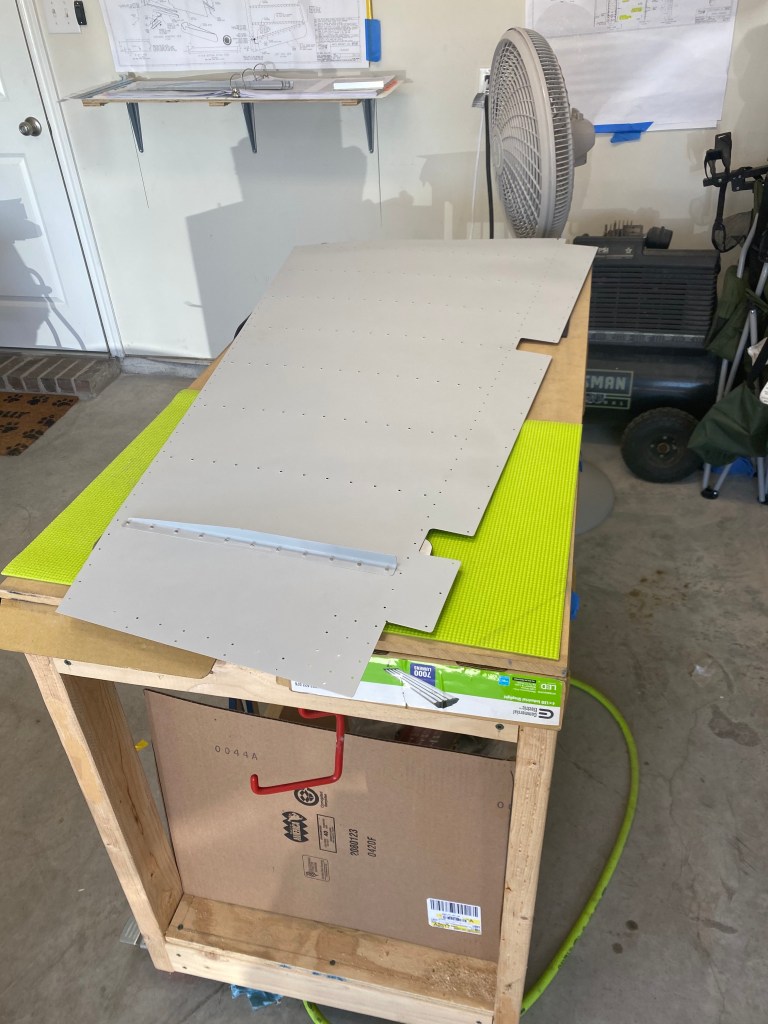
So after priming the next step is to rivet the rudder stiffeners to the skins. This is done using a technique called “back riveting”. To do this, special tape is used to hold the rivets in the hole, and then the outside of the skin is laid onto a large steel plate. The stiffener is then laid along the rivets, and you use the large plate as a bucking bar.
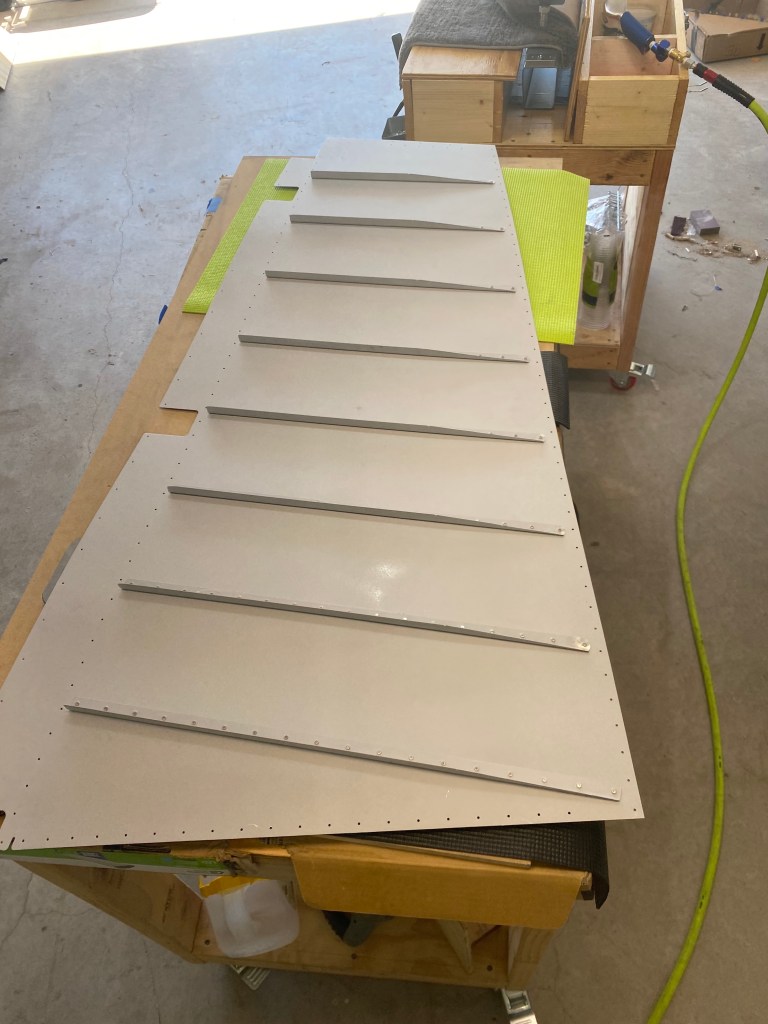
This seemed to be the easiest riveting so my dad and I tackled it first. For more on the first rivet, check out this post. There are eight stiffeners per side, and they range from 18 rivets to 11 rivets. In all, the riveting was fun. You are actually making an airplane part. This took most of the morning because we were stopping every rivet to inspect, and ensure they were airworthy.
In all we only drilled out one rivet from the skin. I had driven it off center and it did not set correctly. Overall very happy with the final product.