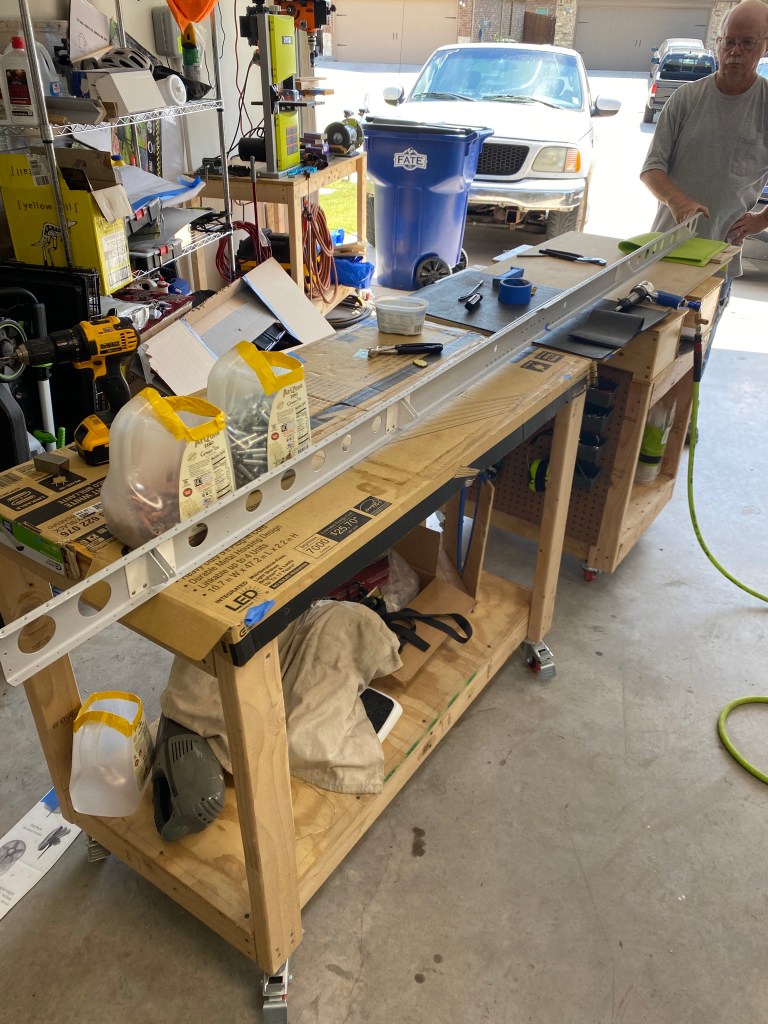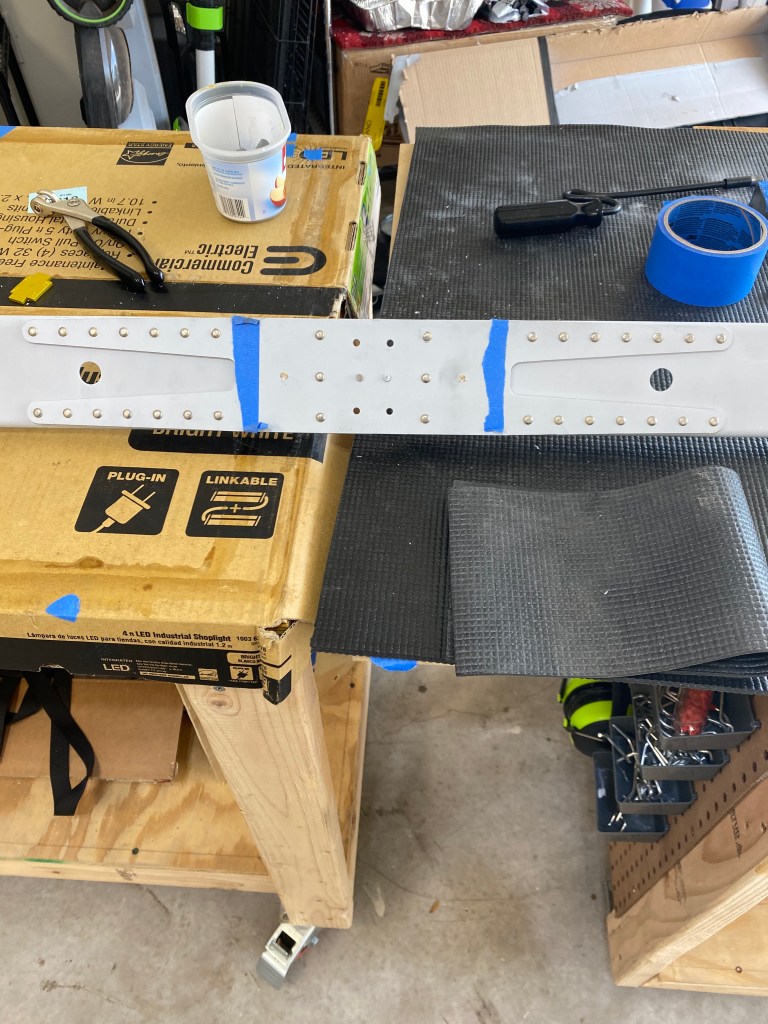
After gaining experience on the vertical stabilizer, it is time to tackle the horizontal stabilizer. This started by riveting the rear and forward spars together with they doublers. The elevator attach brackets were also riveted to the rear spar.
Now it was time to build up each side of the stabilizer. The process was the same on both sides, so I’ll only explain it once. After the spars were ready, the nose ribs were riveted to the skin. This is where the first replacement of a rivet had to happen. The rivet was not set correctly, so it was decided that it was best to remove it and try again. Luckily, no damage was caused, and the rivet was easily replaced.
Next the “intermediate” ribs, which are ribs not attached to a nose rib, were riveted to the front spar. Then the front spar was riveted to the skin and the rest of the ribs were attached to the front spar and the nose ribs. the last step before putting in the rear spar was riveting the ribs to the skin.
Finally the rear spar was attached to the ribs and the skin. The same process was repeated on the other side to complete the second component of the aircraft.