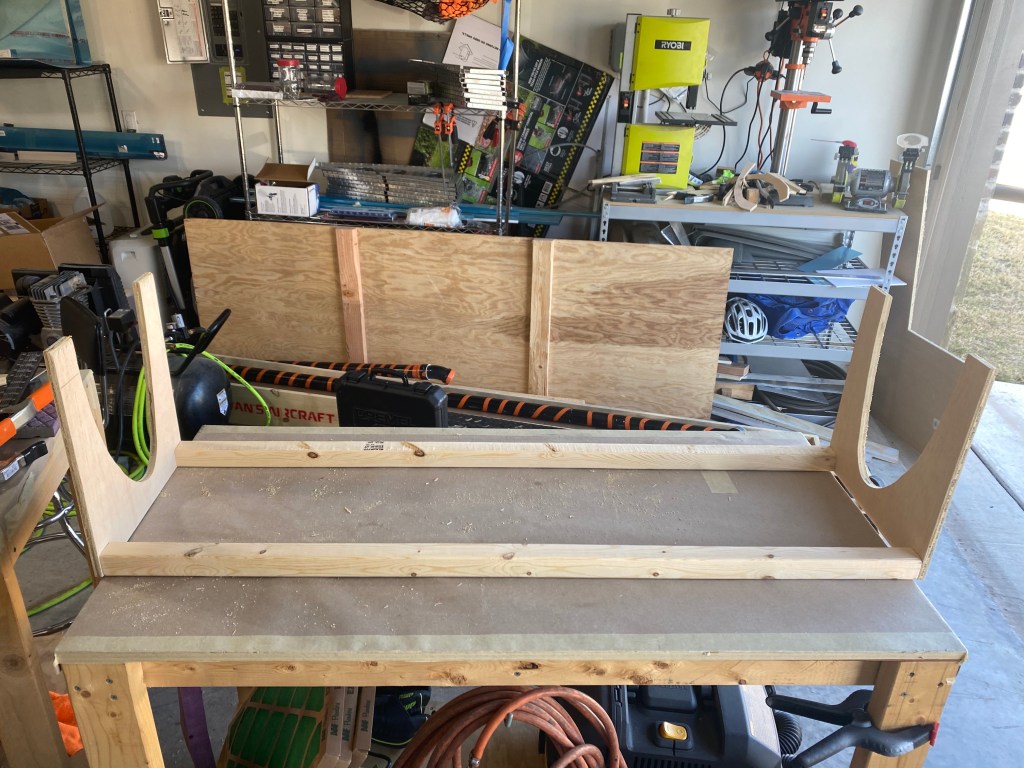
So while waiting to prime the main ribs, the next step was to begin the leading edges. These go on the outboard front of the wing. The main spar and ribs are behind it, and the fuel tank is to the inboard side of it. To start, a cradle is built to hold the skin in shape while you are working on the leading edge. A rib was traced onto some plywood to ensure the right shape was cut out. Then two of them were screwed to some 2x2s to make the cradle. I then decided to add a third holder in the middle. Overall, this was a simple, yet effective design.


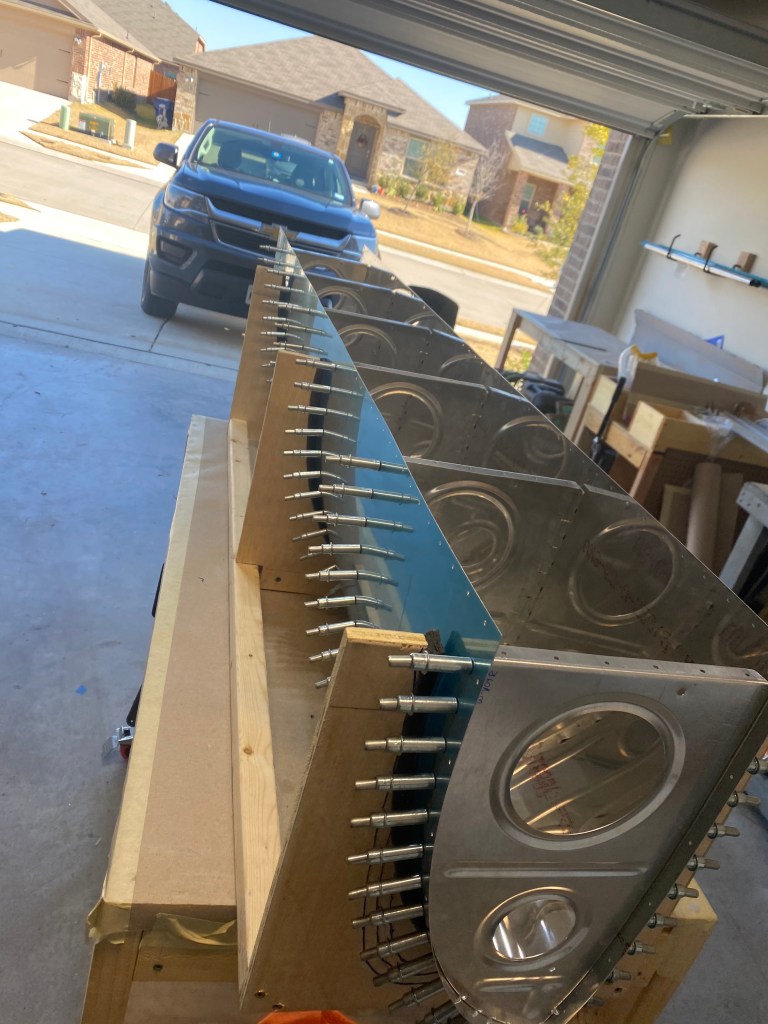
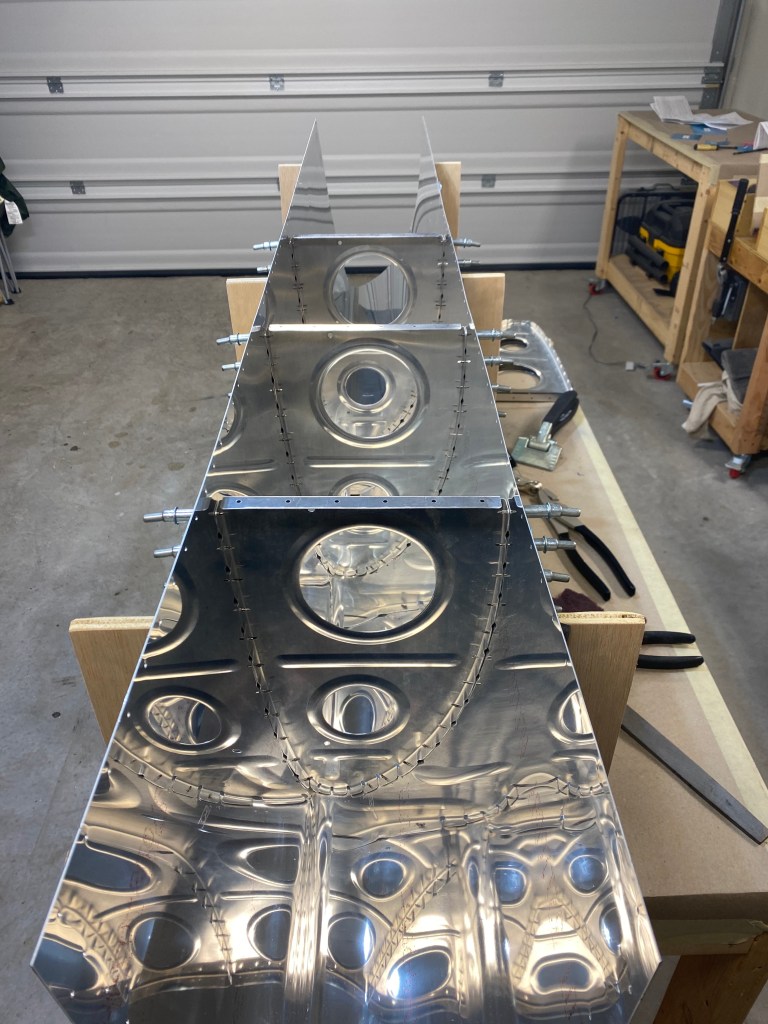
After the cradle was built, I started to work on prepping the ribs to be put in the skin. Once all of the ribs were ready, I started to cleco the ribs to the skin. This was very frustrating. Even with the cradle, the skin is not shaped perfectly, so it takes some time to ensure everything lines up. Eventually it all worked out. And this had to be done for the left and right sides.

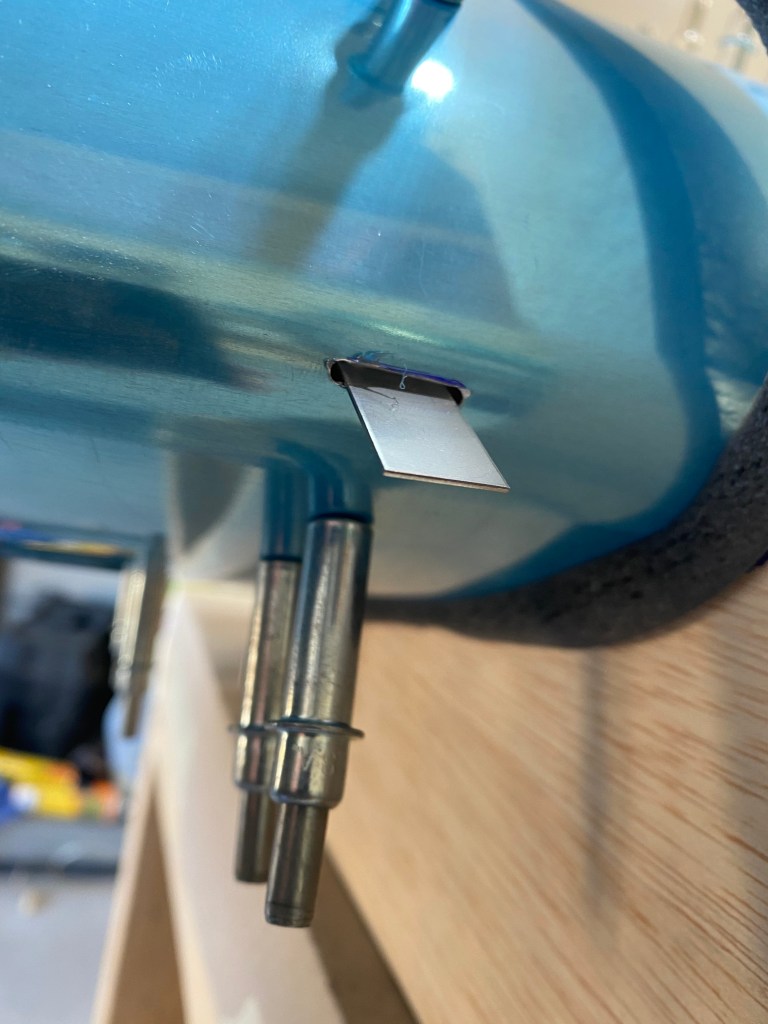
One difference in the leading edges is a stall warner is on the left leading edge. A stall is a loss of lift over the wing, normally due to a high nose up attitude. So, the stall warner is a device that helps to alert a pilot they are approaching a critical nose up attitude. There are newer technologies that help keep pilots aware, but I decided to also install the stall warner in my plane. There is a special bracket that goes in the left leading edge to hold some of the electronics. Then a small metal piece sticks out of the leading edge and when the air flowing over it lifts it, the stall warner goes off in the cockpit. This addition took maybe an extra 30 minutes, but I believe it is worth it. After that was installed, everything was disassembled. Then came the normal demurring, scuffing, dimpling, and priming.