
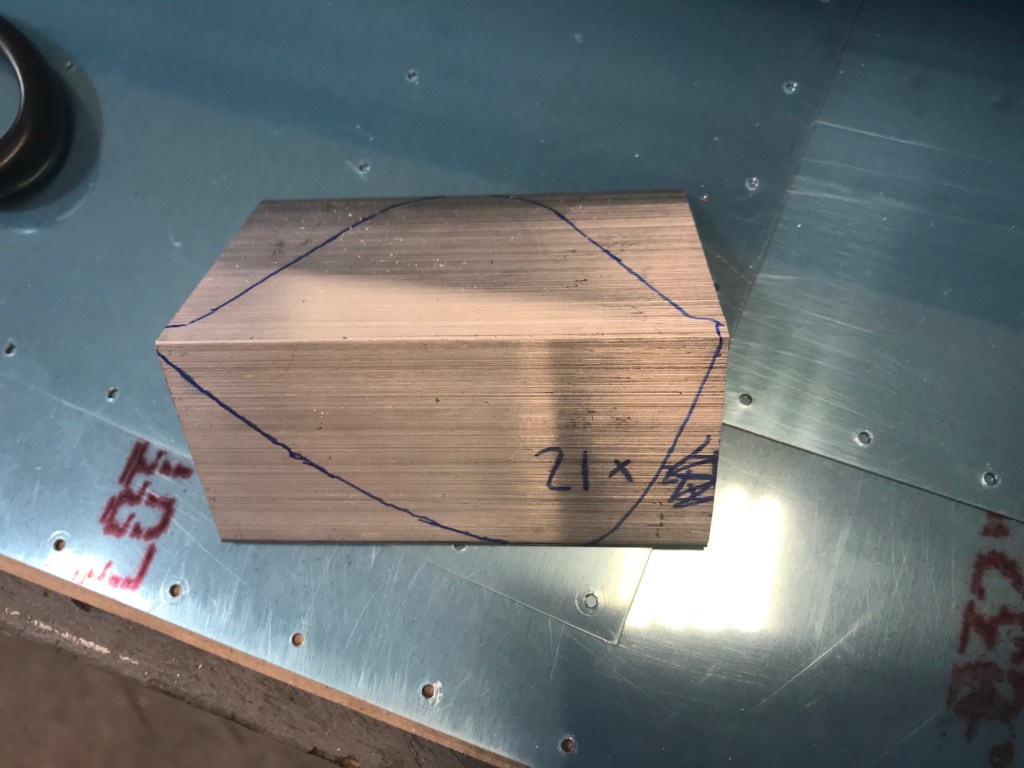
Now that the tanks have been fitted, there are a few more pieces that need to be made for the tank. The first is the Tank Attach Bracket. This piece will attach the tank to the fuselage of the airplane. It helps to distribute the weight. It starts out with a piece of angle aluminum (Looks like an “L”). I used a templed included with the instructions to trace it onto the aluminum and then used a band saw to cut it out.
Then, using the same pattern, I drilled several holes as instructed. Finally, the bracket is match drilled to the rib. It is key to remember where your fingers are. I nearly drilled my finger while match drilling. Luckily, it barely grazed my finger, but I started paying attention a lot more.

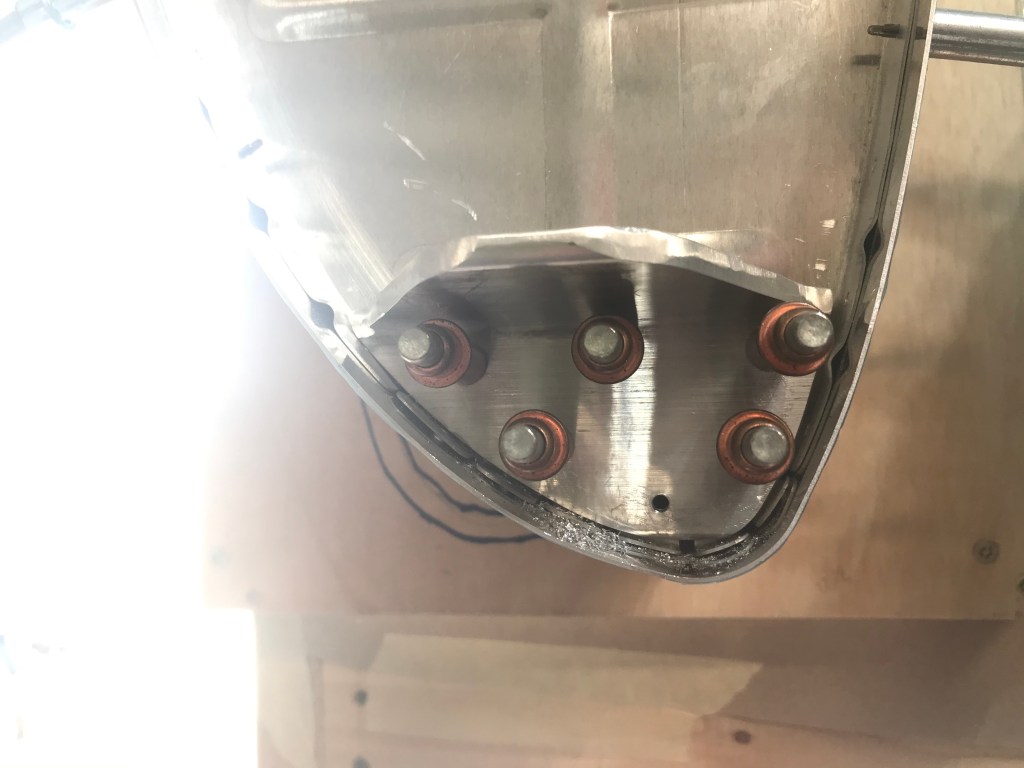
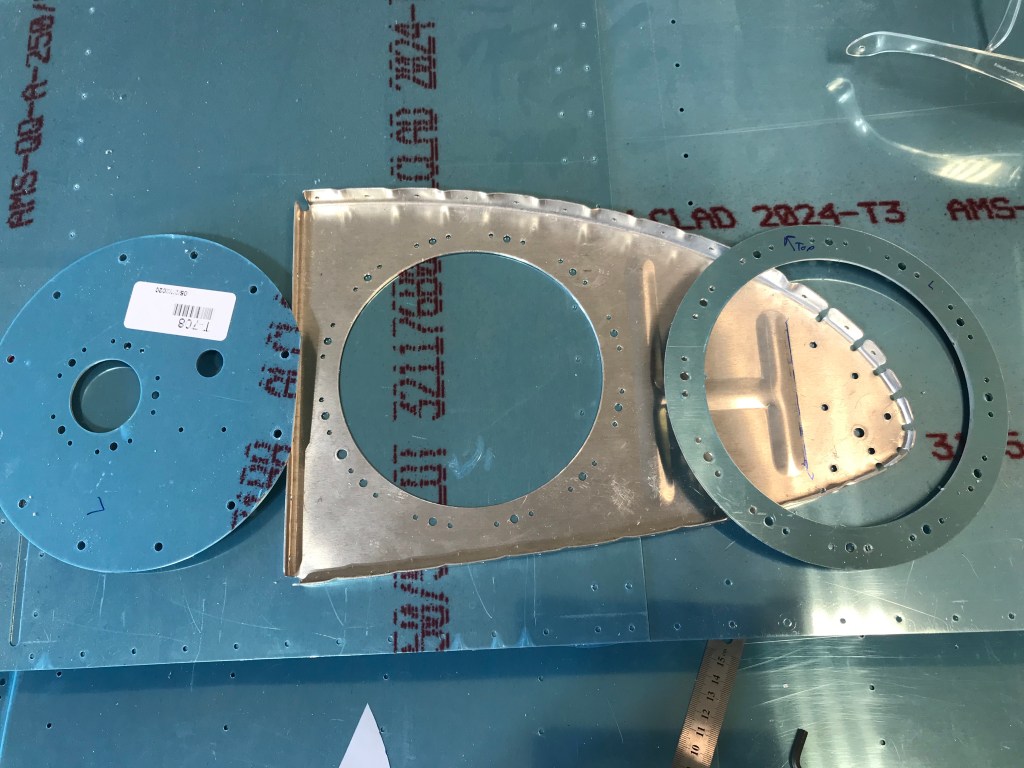
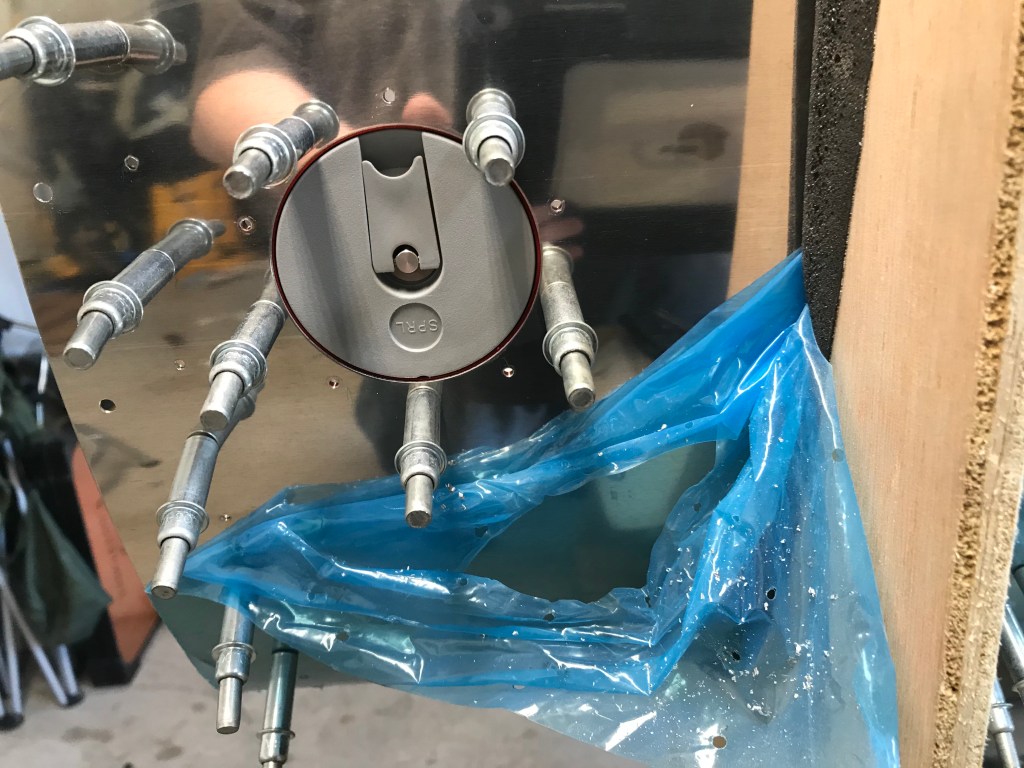
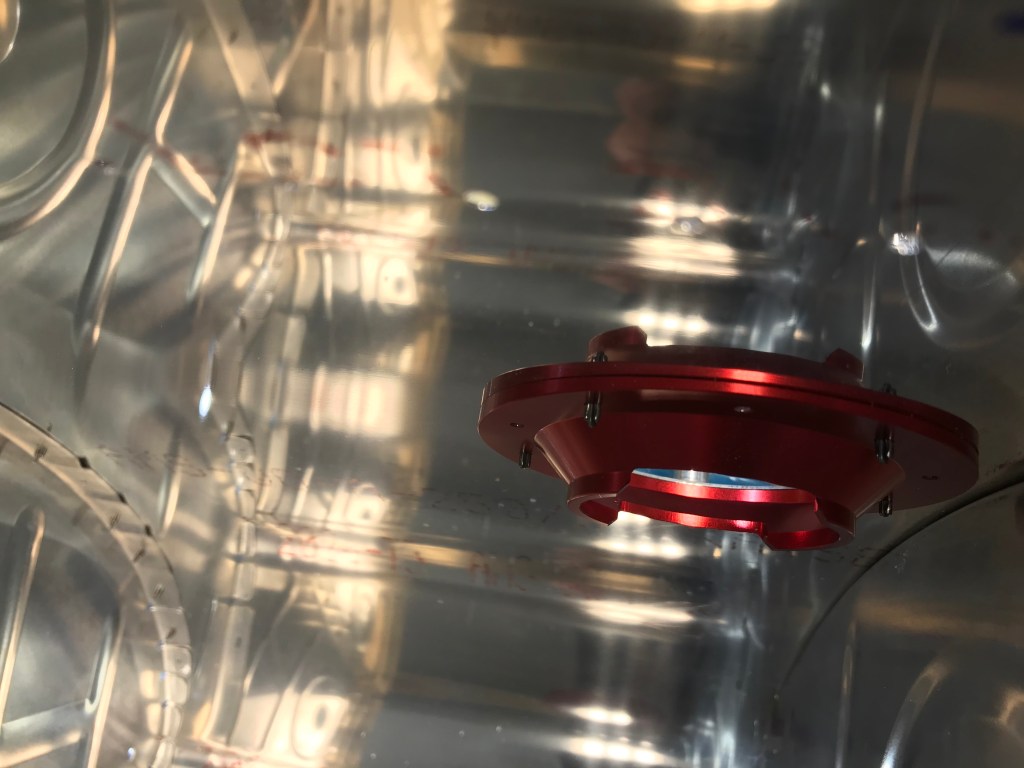
Next up is a modification to the inboard rib of the tank. It comes as a solid piece of metal. A large hole is cut out of it, and a doubler ring and special cover is used to cover the hole. The doubler ring allows for nut plates to be attached to hold on the cover. The cover holds two important items.
First, it holds the fuel level sender. This lets the pilot know how much fuel is in the tank. Secondly, it holds the fitting for the fuel pickup tube. This takes fuel from the tank, and attaches it to the fuel line from the fuselage.

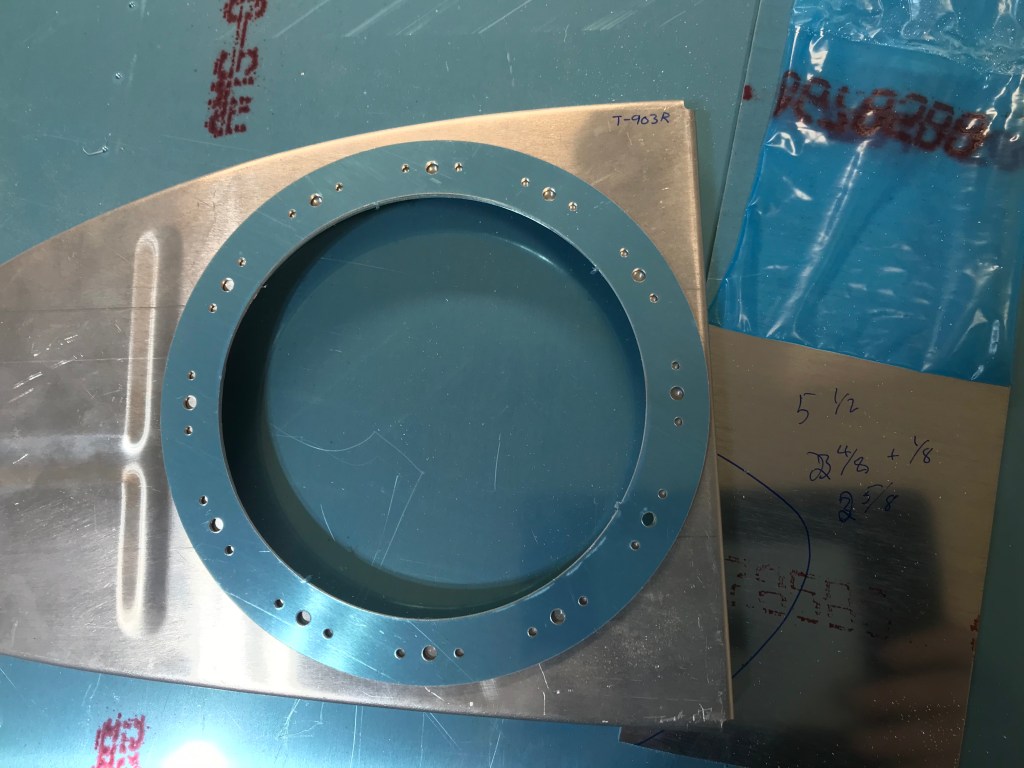
The final two things I will cover are the fuel cap and drain valve. Not a lot of anything going on here. Parts are already made, just match drill them to the skin. I will say that the fuel cap piece had a cool feature. When it was designed, the lip around the cap holder, was designed to be different thicknesses. This is to account for the bend in the fuel tank skin. So you can see that in the middle picture, the thickness changes as you go around the lip.
Finally the drain valve is used to drain the tanks if it is ever needed. This also is the lowest point of the tank. Aviation fuel is less dense than water, so the water will sink to the bottom, and thus the lowest point of the tank. Part of the pre-flight check is to take a sample from each tank to ensure that no water has contaminated the fuel.

Up next, we start to rivet the tank, and I will talk about my new “best friend”, tank sealant.
