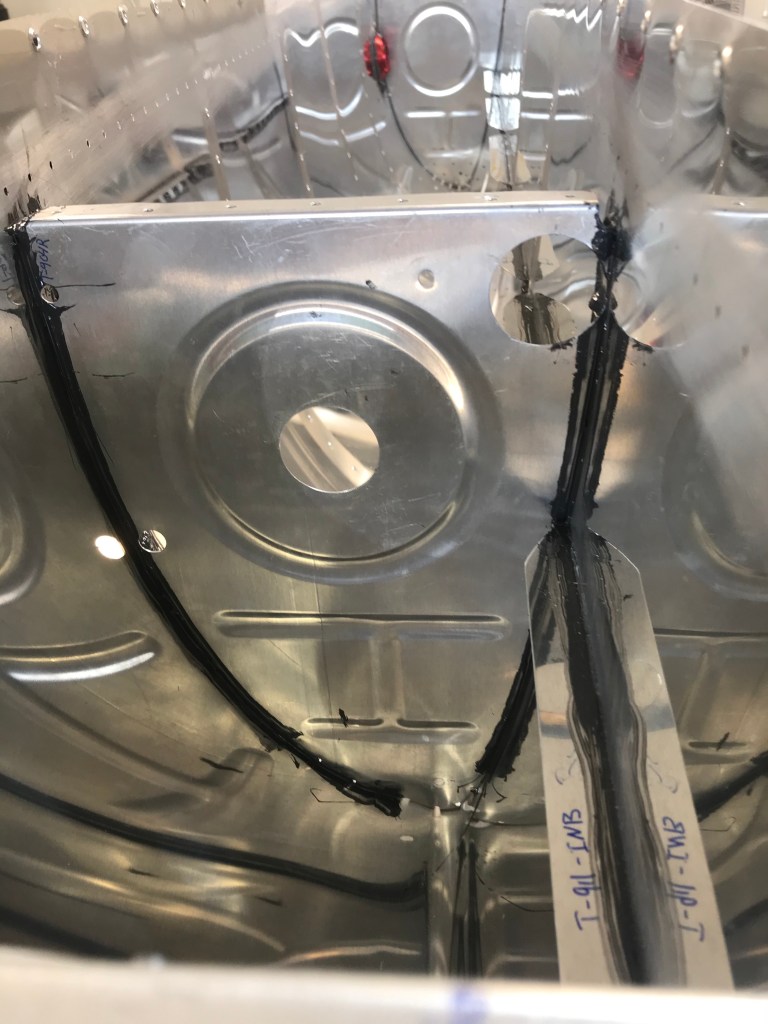
So now that the all the drilling and dimpling work is finished on the tank, it is time to put it together. Because the tank needs to be water-tight, sealant is used to achieve that. It is a two part sealant that has to mixed at a ratio of 10:1. This stuff stinks, and is super sticky! A thin coat of sealant is applied to parts prior to riveting. Then a nice fillet is applied around the parts, and all of the rivets are incapsulated to prevent fuel from leaking out. The goal is to seal the tank from the inside out. First to be install were the filler neck, drain flange, and the stiffeners.


Next was time for the actual ribs of the tank. Again sealant was used to to ensure a water-tight seal. But you have to be careful, because if you use too much sealant, you can alter the shape of the tank, and it may not fit correctly. So I think this is more of an art form than a science. But in the end, I got through it. I’m sure its on the neatest job, but the most important question is will it leak?


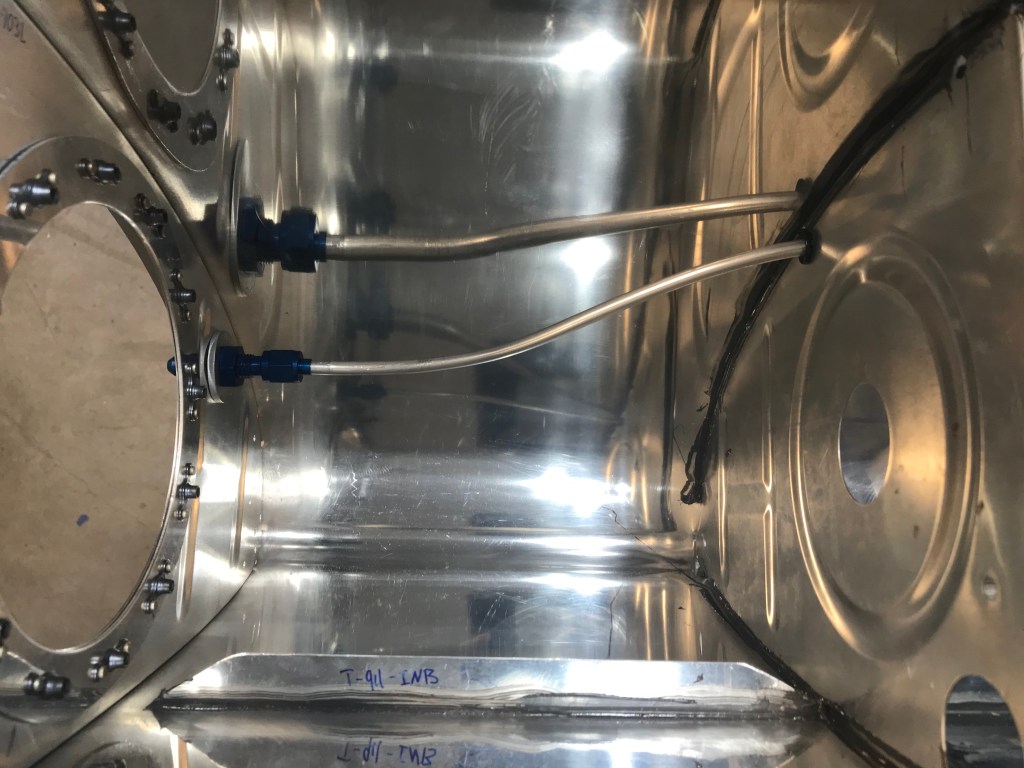
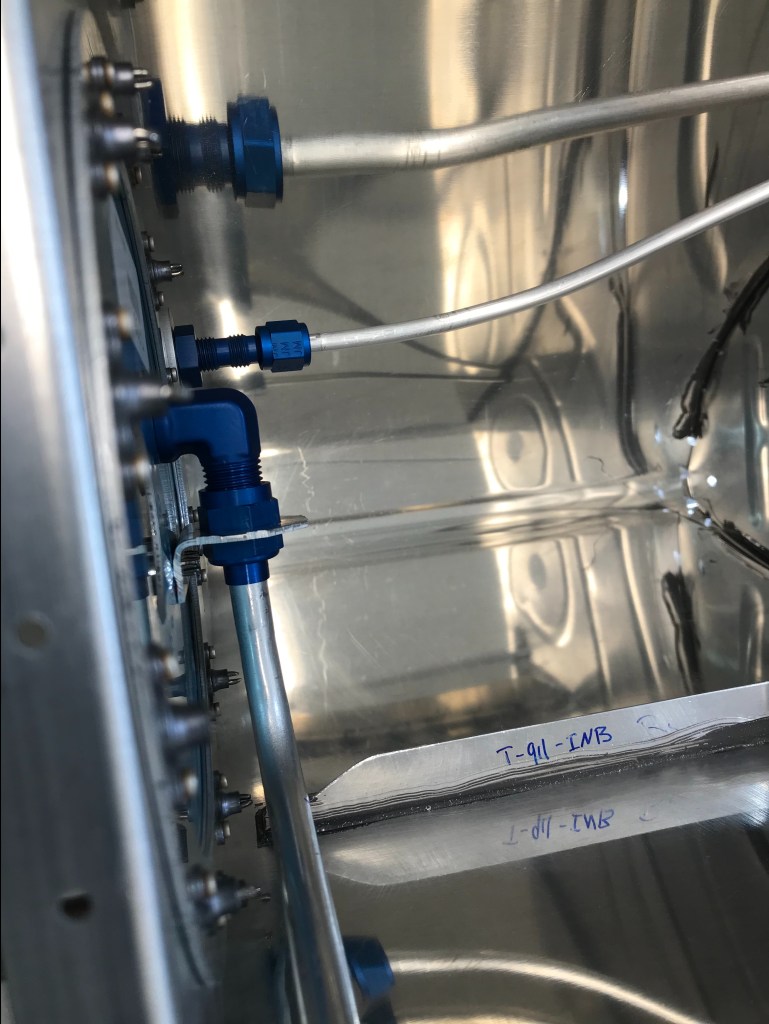
Now I will not know if the tank will leak until it cures completely. That may take an additional 2-3 weeks from today (04/18/2021). I will for sure update the status when I know it. With all the ribs in, there are a few more items to take care of in the tank. The first is the vent line. This ensures that there is not a suction on the tank. Additionally, the fuel pickup tube is added to the tank. Finally, the Fuel Level Senders is added as well. Now to get the other tank to this point.