So the tank was almost ready for testing. The last major part to put on was the back baffle. This is really tricky because there are several ribs which all have to line up. Once everything is lined up, the side of the baffle is riveted to the tank skin.
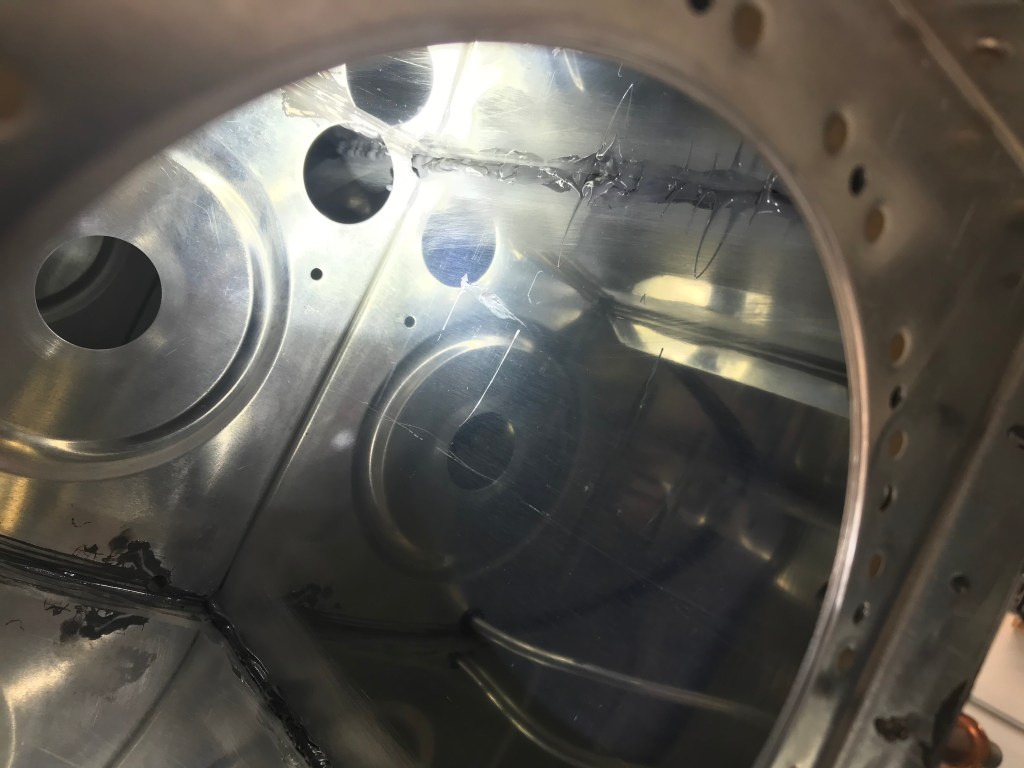


The last step was to add the tank attach brackets to the back of the baffle. This is done with pull rivets since you cannot access the inside of the tank very easily. Now the structure of the tank is complete. Time to close out the last few items. This included the plumbing for the fuel vent and fuel pickup, and the access plate.
Once this was completed, it is time to test the tank. I ordered the test kit from Van’s. After testing there was only two leaks on one tank, and no leaks on the other. Overall, very happy with how it turned out!


