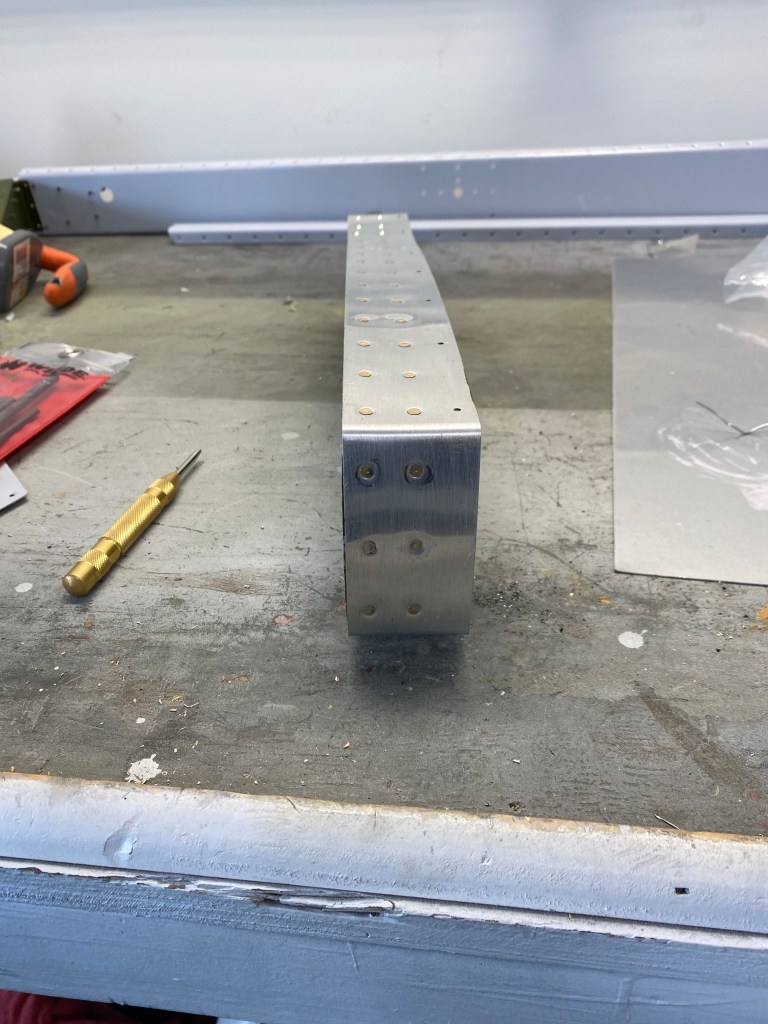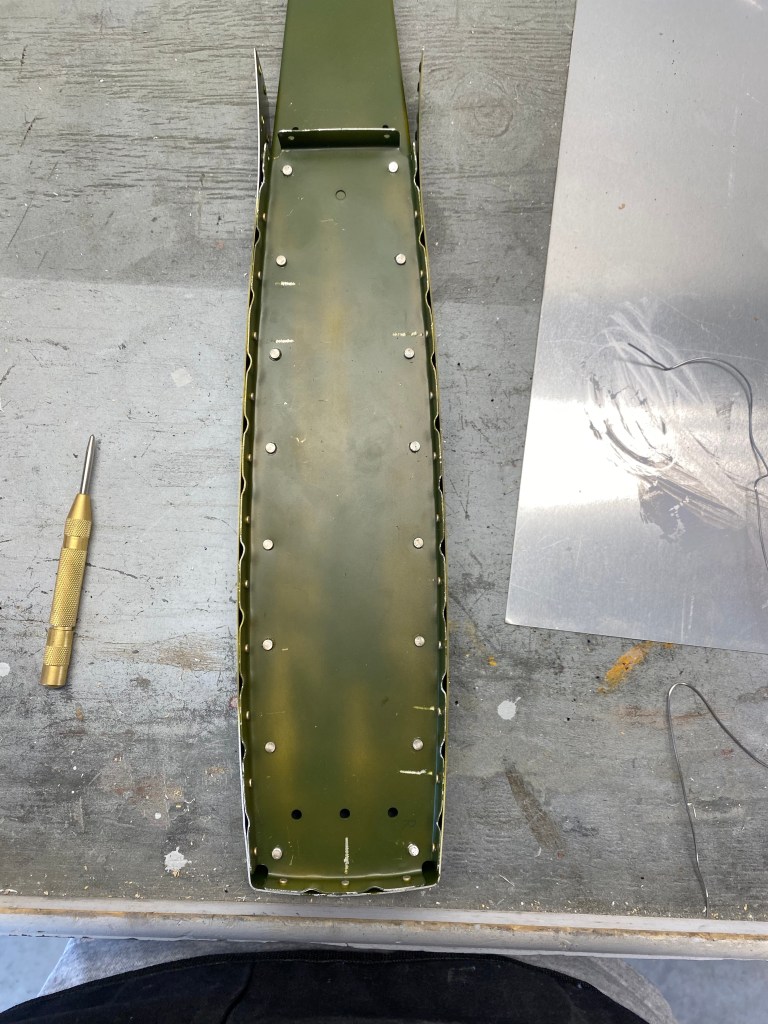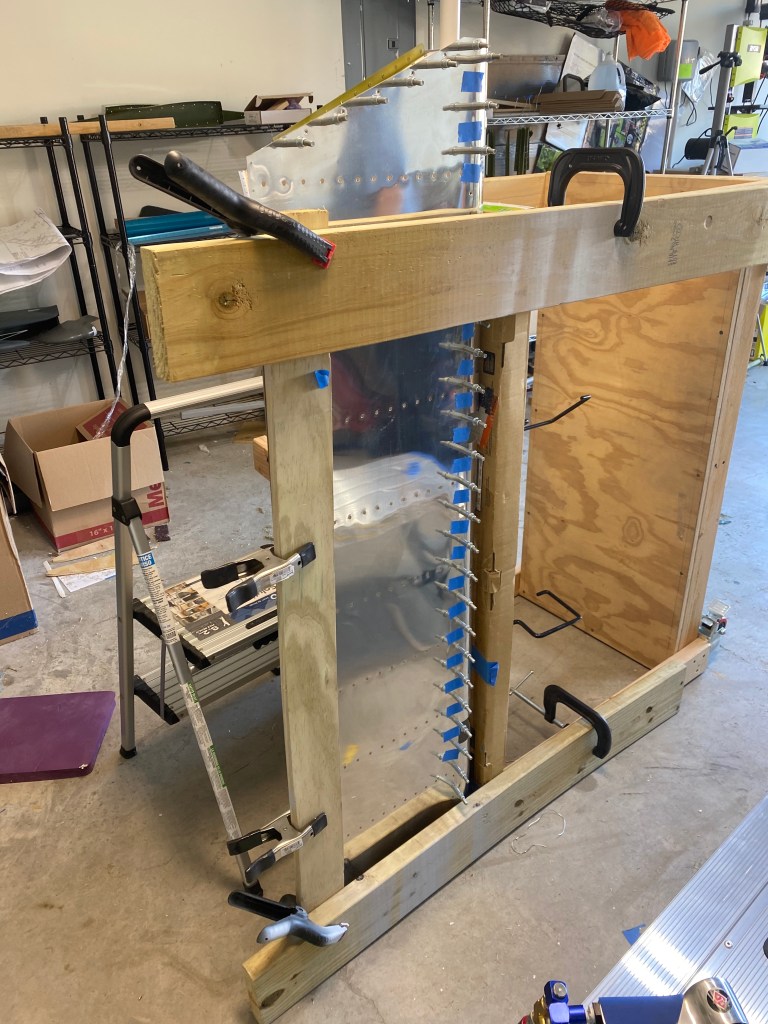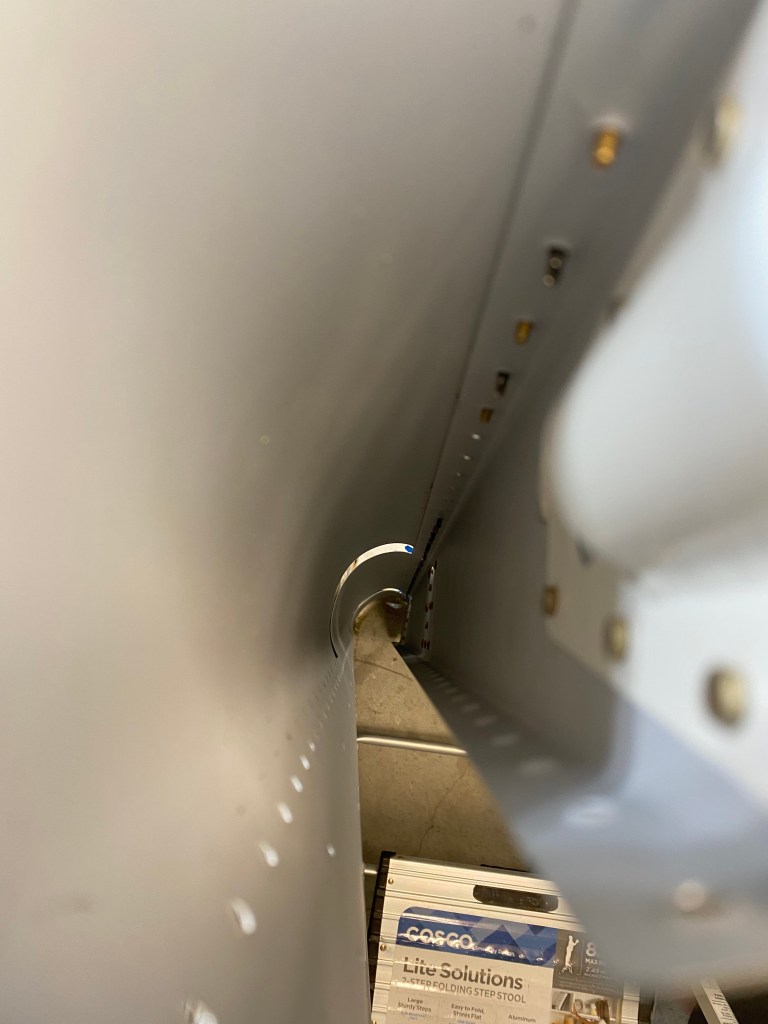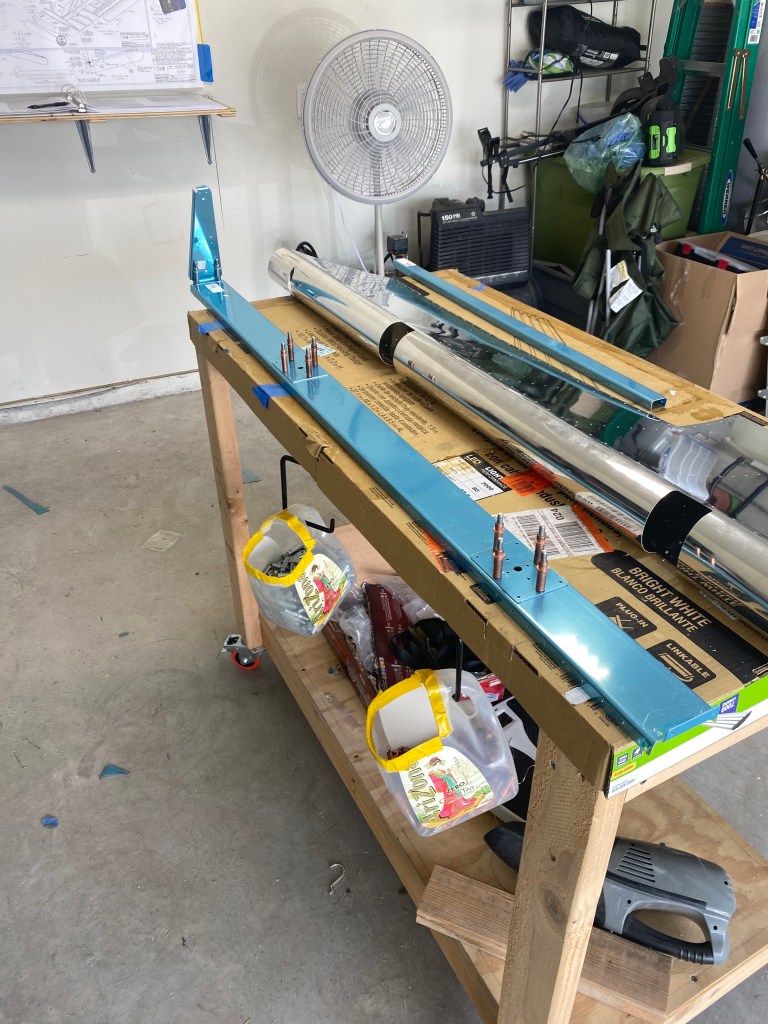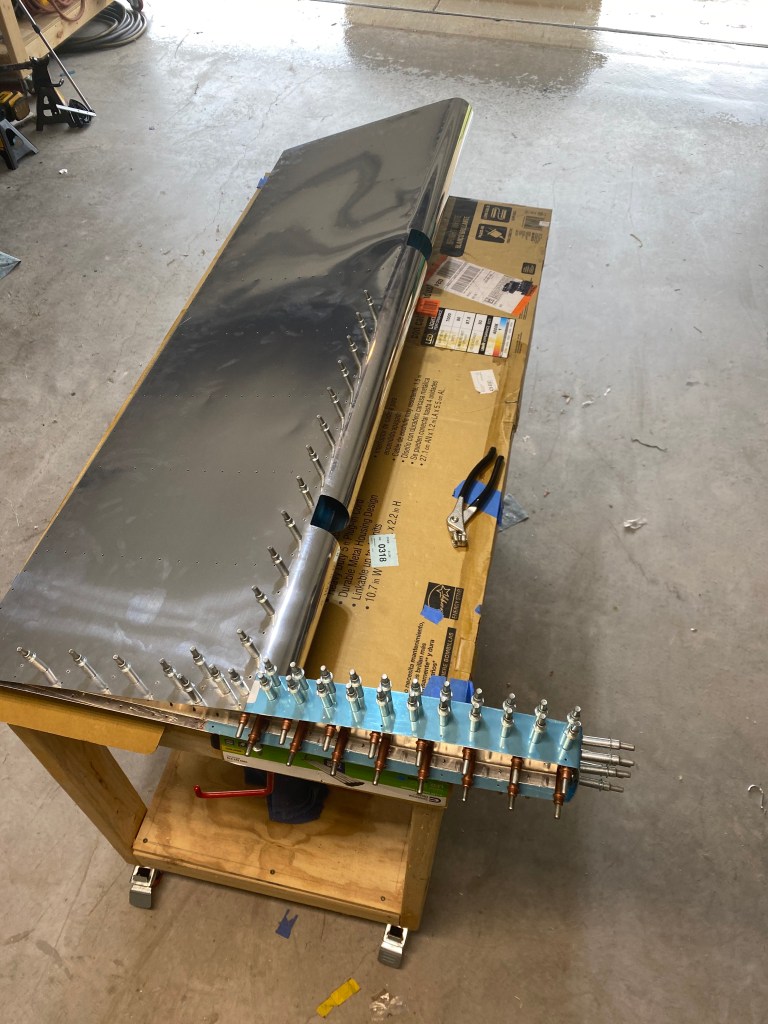
Continuing on the elevator, the stiffeners and attach bracket were attached to the skin

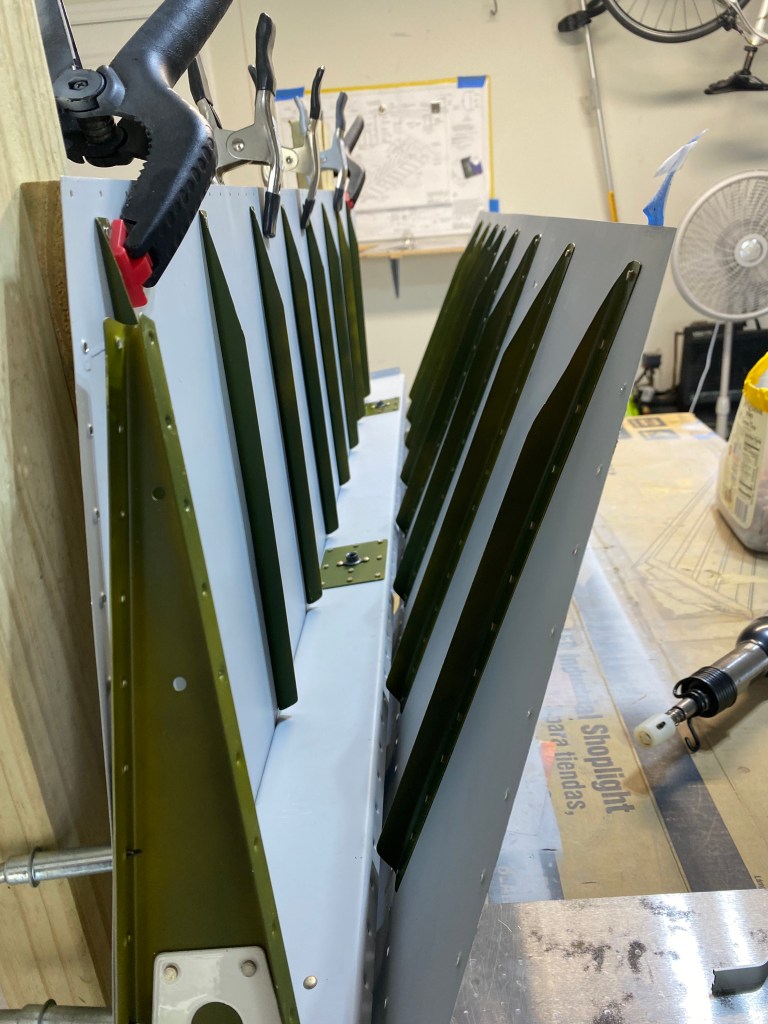

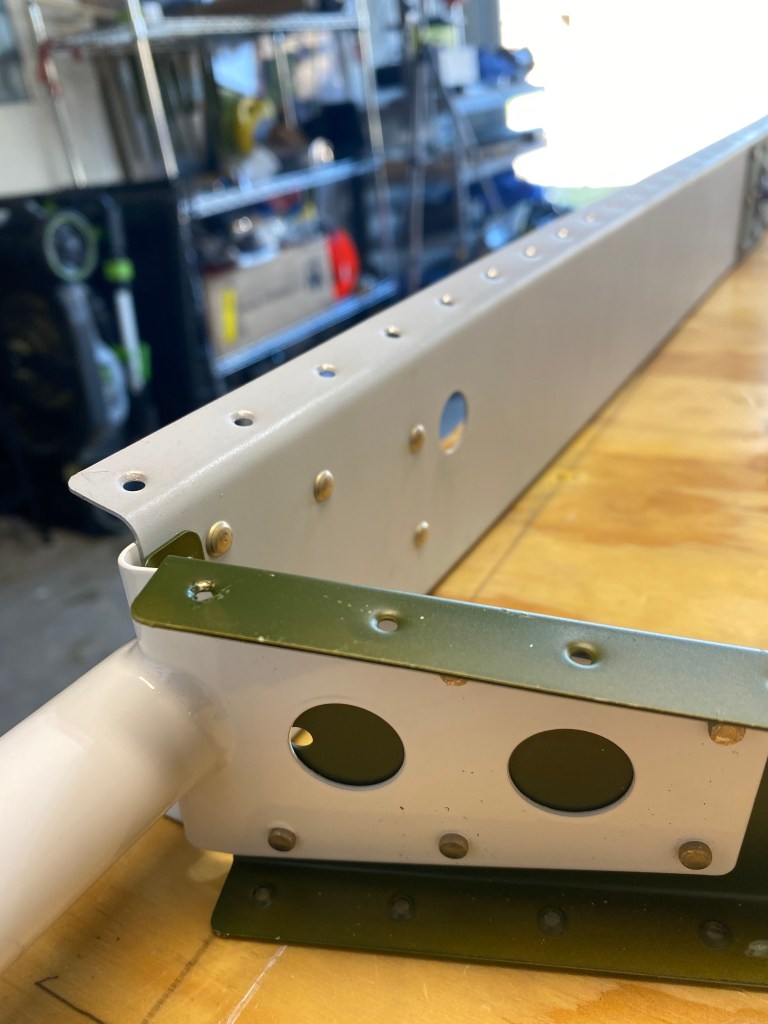
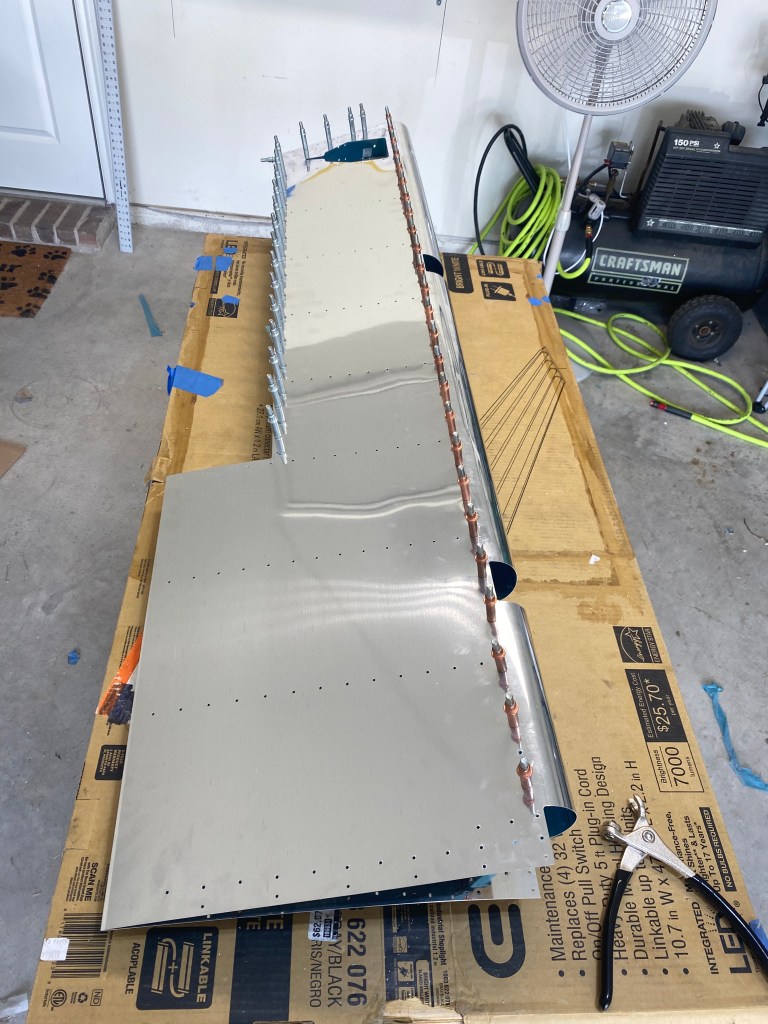
For the right elevator, it is ready to have the trailing edge attached. For the left elevator, the trim tab spar was riveted to the elevator. Then the trailing edge on the left side was ready to be riveted. This would mark the end of the elevators (minus the trim tab).