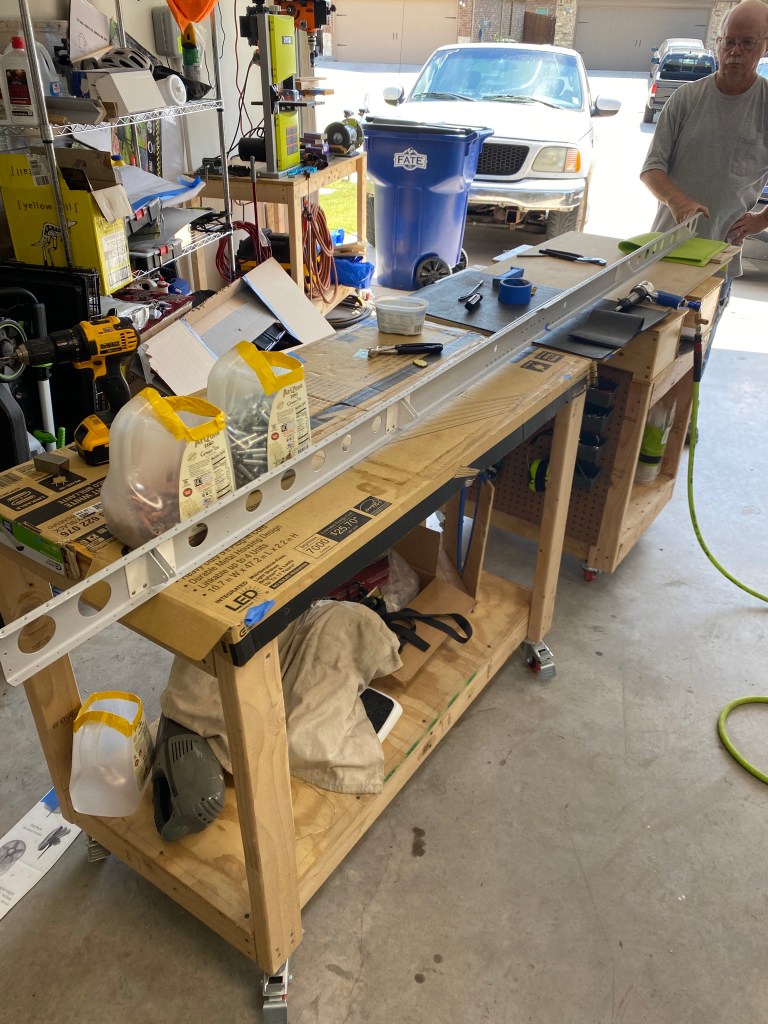
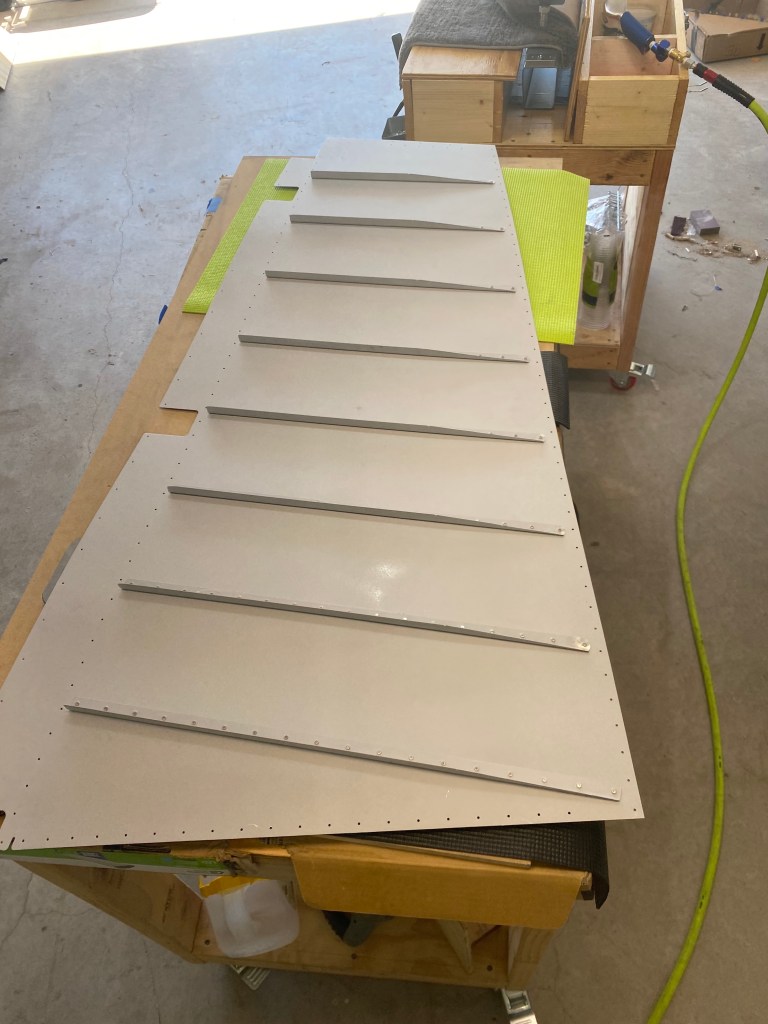
Time to begin work on the elevators. The first step is to make the stiffeners out of the provided materials. There are instructions and diagrams on how to cut, and how many stiffeners to cut. These are used to stiffen the sheet of aluminum that is the skin of the elevators. These stiffeners are then match drilled to the left or right elevator skins.
Category: Empennage


Vertical and Horizontal Stabilizer
Just a quick picture of the horizontal and vertical stabilizers together before they were put into storage.


Horizontal Stabilizer 3
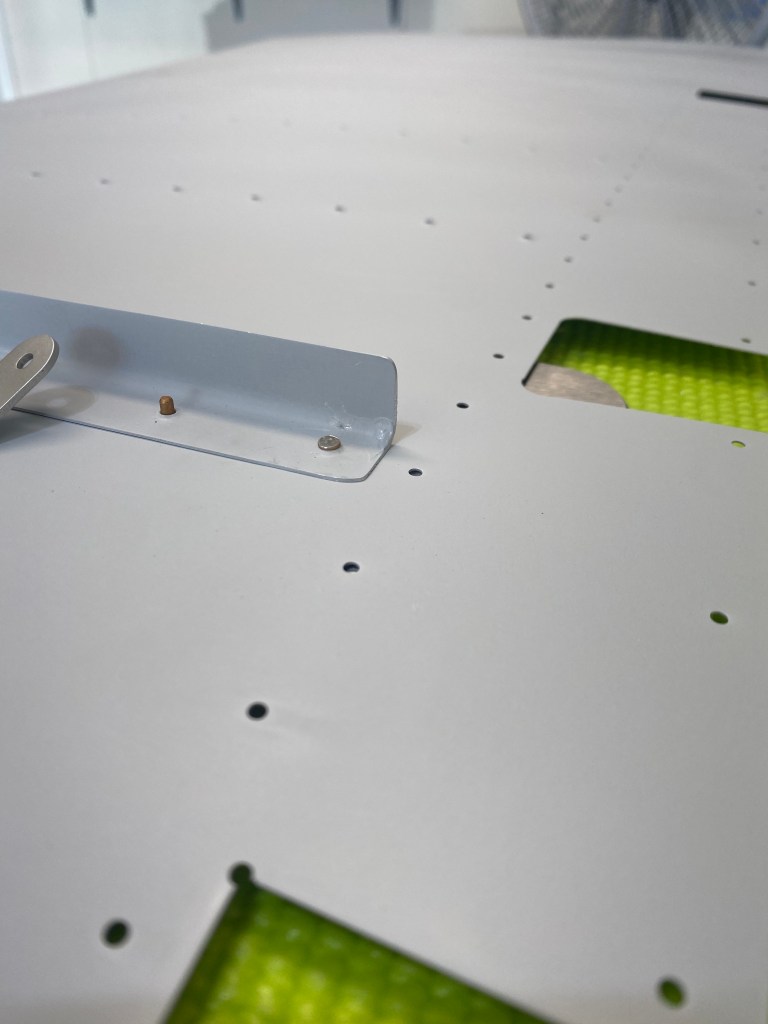
After gaining experience on the vertical stabilizer, it is time to tackle the horizontal stabilizer. This started by riveting the rear and forward spars together with they doublers. The elevator attach brackets were also riveted to the rear spar.
Now it was time to build up each side of the stabilizer. The process was the same on both sides, so I’ll only explain it once. After the spars were ready, the nose ribs were riveted to the skin. This is where the first replacement of a rivet had to happen. The rivet was not set correctly, so it was decided that it was best to remove it and try again. Luckily, no damage was caused, and the rivet was easily replaced.
Next the “intermediate” ribs, which are ribs not attached to a nose rib, were riveted to the front spar. Then the front spar was riveted to the skin and the rest of the ribs were attached to the front spar and the nose ribs. the last step before putting in the rear spar was riveting the ribs to the skin.
Finally the rear spar was attached to the ribs and the skin. The same process was repeated on the other side to complete the second component of the aircraft.

Rudder 2
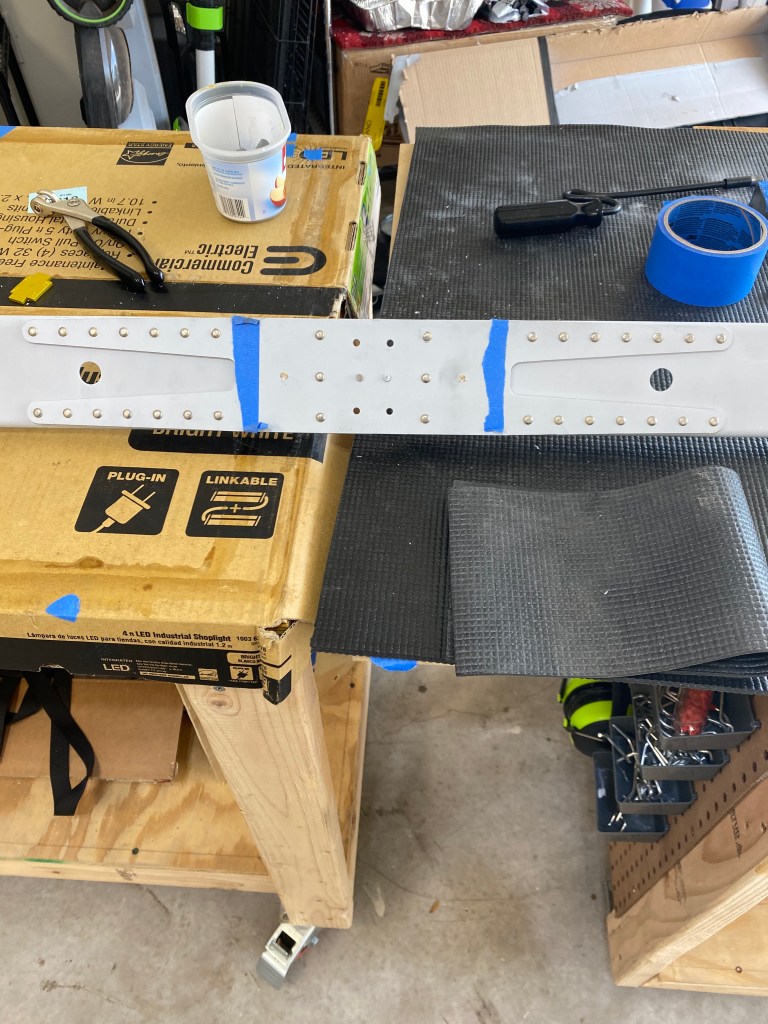
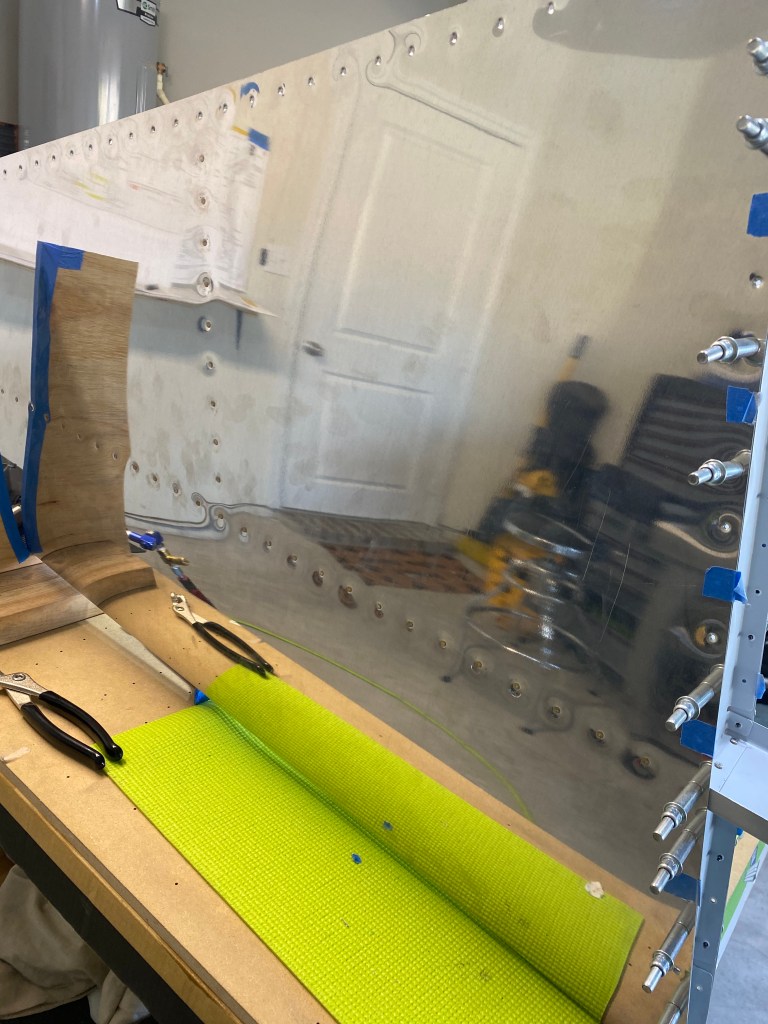
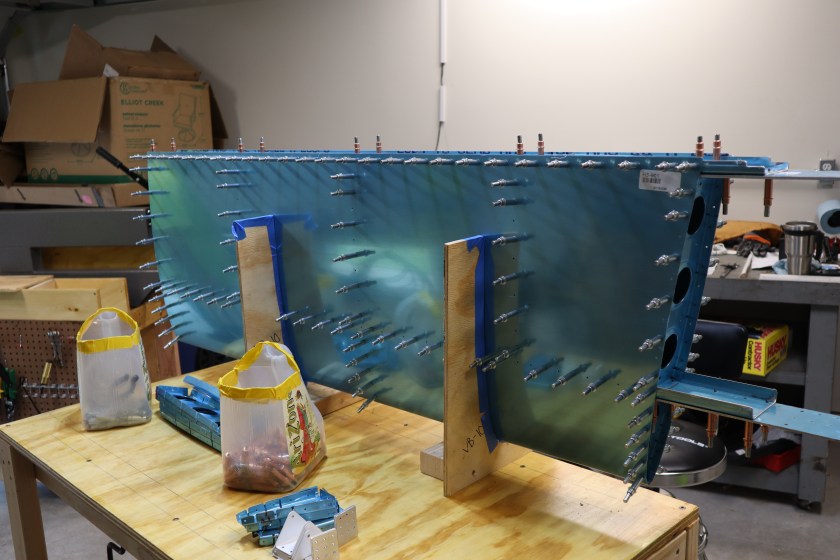
So after priming the next step is to rivet the rudder stiffeners to the skins. This is done using a technique called “back riveting”. To do this, special tape is used to hold the rivets in the hole, and then the outside of the skin is laid onto a large steel plate. The stiffener is then laid along the rivets, and you use the large plate as a bucking bar.
This seemed to be the easiest riveting so my dad and I tackled it first. For more on the first rivet, check out this post. There are eight stiffeners per side, and they range from 18 rivets to 11 rivets. In all, the riveting was fun. You are actually making an airplane part. This took most of the morning because we were stopping every rivet to inspect, and ensure they were airworthy.
In all we only drilled out one rivet from the skin. I had driven it off center and it did not set correctly. Overall very happy with the final product.
Vertical Stabilizer 2
Now that the parts were primed, it was time to start riveting the vertical stabilizer together. This started with riveting the rear spar and spar doubler together. The Rudder attach brackets were riveted as well. Once the rear spar was riveted, the ribs were attached and the skeleton of the vertical stabilizer was riveted together to the front spar.
Next the skin was placed over this skeleton, and the skin was riveted to the ribs and front spar. Finally the rear spar was riveted to the ribs and skin. This completed the first major component of the airplane build.

First Rivet
Big day! I set the first rivet on the project. Luckily, my dad had come to town to help out. He is an A&P Mechanic (certified airplane mechanic) with his IA (Inspection Authorization). This means he is able to work and maintain certified aircraft. His years of experience provided validation and built confidence in my work.
The first rivet of the project was between the rudder skin and a stiffener. I chose this as the first set, as it seemed to be the easiest riveting I could do. Luckily, the rivet came out very well, and checks on the diameter and length verified it was an airworthy rivet.
Priming Day
So since I have a large batch of parts ready to prime, it was time to set up the sprayer and get priming. I started out by scuffing up all the parts for the horizontal and vertical stabilizers and the rudder. This will give the primer something to “hold too”.
The primer that I am using for the entire aircraft is Stewart Systems EcoPrime. This is a one part, water based primer. The reason I chose this primer is because it is non-toxic, and being one part, it is an easier process. Being in a neighborhood, it is important to me to be respectful of my neighbors, so being water based and non-toxic was a key factor.
Next, I set up a spray “booth” from the cardboard box that the tail skins were delivered in. This booth helped to contain overspray and provide support for the bar which held the parts.
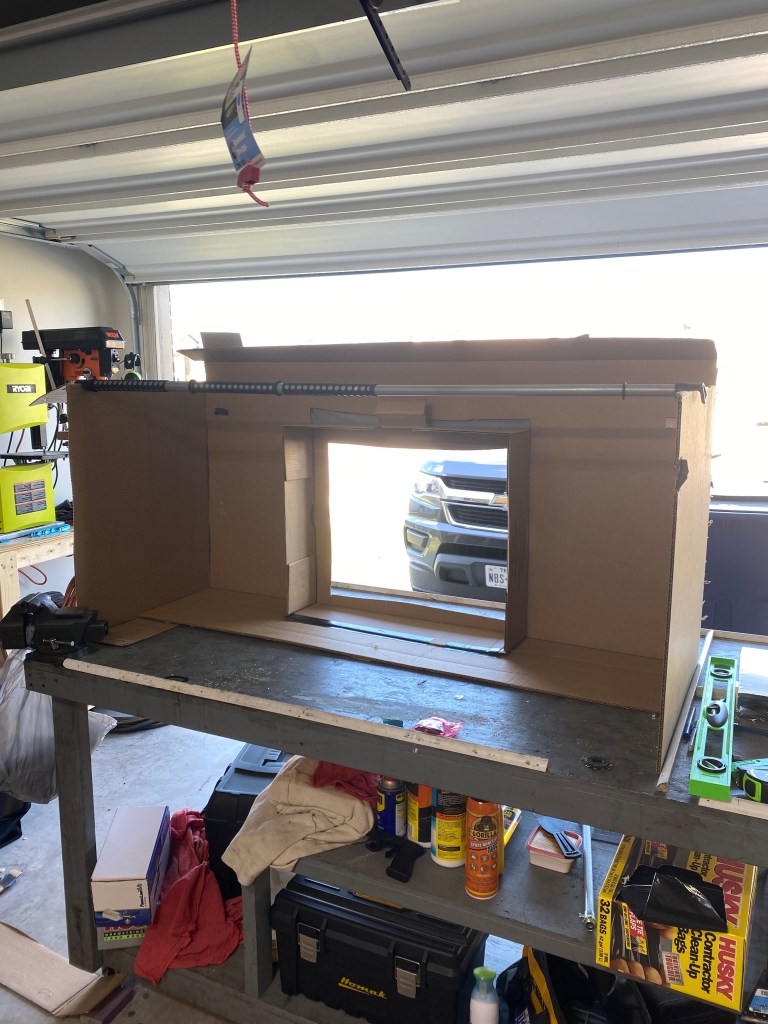
I was excited to start priming. It was another step forward. The more I primed, the better I got. I was able to work in batches, about an hour each. It took most of the day, but in the end, I was happy with my results.


Rudder 1
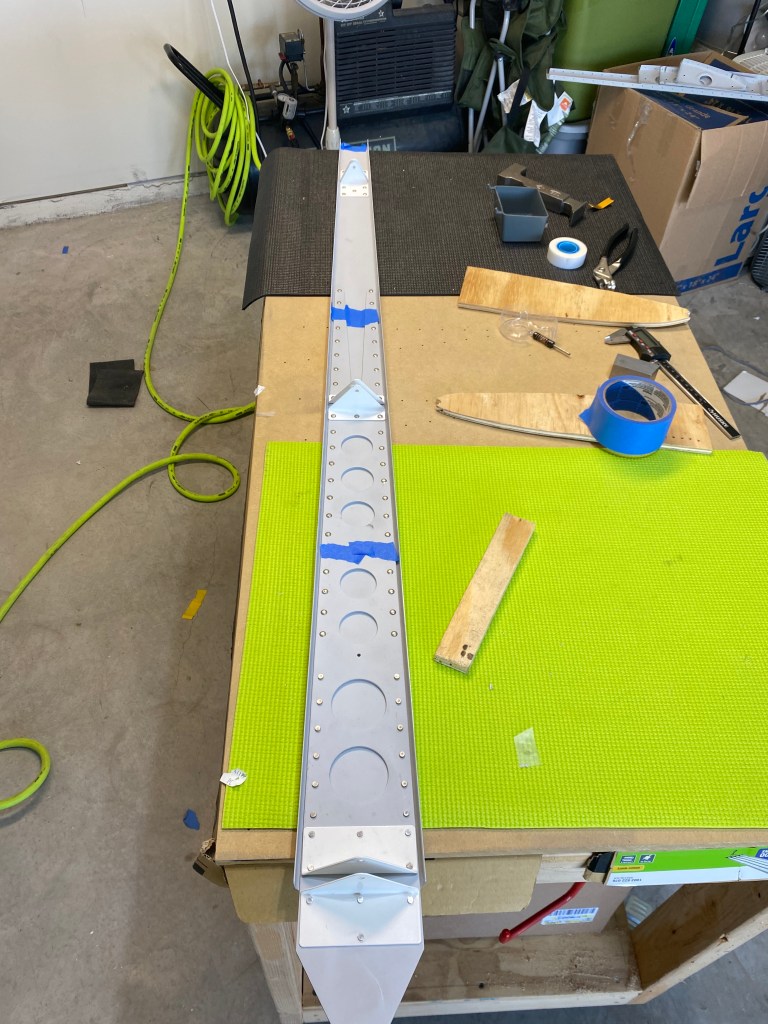
Now that the vertical stabilizer is ready for priming, the next step is to begin on the rudder. The first step is to take the provided stiffeners, cut them to length, shape the end, and match drill them to the skin.
After the stiffeners are match drilled, you debur and dimple the stiffeners and the skin. Then it is ready for priming.


Vertical Stabilizer 1
Since I have to wait on priming the Horizontal Stabilizer (Horz. Stab.), I started to work on the Vertical Stabilizer (Vert. Stab.). The process is very similar to Horz. Stab. I started by clecoing the spar doubler to the rear spar. Next the rest of the assembly (ribs and front spar) are clecoed in place. Next all holes are match drilled to final size. This creates the skeleton of the Vert. Stab..


Just like before, the skin is then attached to the skeleton. After everything is clecoed together, the skin is match drilled to final size with the ribs and spars. Moments like this when an assembly is together is a very gratifying feeling. It’s a feeling of accomplishment and noticeable change. But this feeling is short lived, because you take it all apart and debur, dimple, and machine countersink the parts. Then it is ready for primer.

Horizontal Stabilizer 2
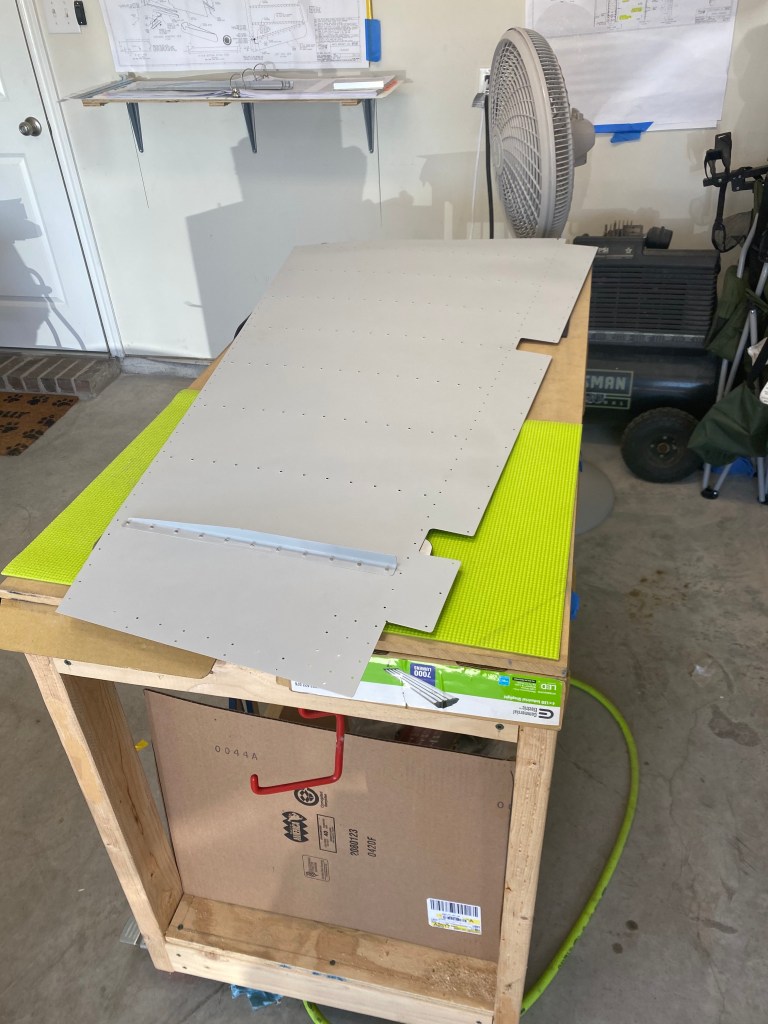
So, in the last post I discussed assembling the skeleton for the horizontal stabilizer. After the skeleton was disassembled and cleaned up, the structure was “rebuilt” inside the skin. The skin is the thin metal sheet that is the outside surface of the airplane. The skin is put into a jig that has a the contour of the horizontal stabilizer cut out. This helps to hold the shape while assembling the structure.
Once the skins are in the jig, I started adding the front ribs (aka nose ribs) to the skin with clecoes. Next, you add the front spar and cleco it to the nose ribs and the skin. You keep building inside the skin. Next up is the main ribs, and finally the rear spar.
After the everything is in place, the holes were match drilled to final sized. The entire process was completed for the left side, then it was disassembled, and the right side was completed the same way.

Once both sides were disassembled, it was time to start the final prep of the parts. The skins and ribs had to be dimpled. This refers to putting a small depression into the metal so that a rivet will sit flush once set. This is done with the DRDT-2 and the pneumatic squeezer.
The spars are too think to dimple, so they much be machine countersunk. This is completed by physically removing material with a cutter to create the small depression. The skin dimple will sit inside the machine countersunk depression.
So this is as far as I can go right now. I need to prime the parts, but weather is not cooperating. I will start work on the Vertical Stabilizer next.
