The build has begun. But before I go into detail, it might be worth explaining some terms that I will use.
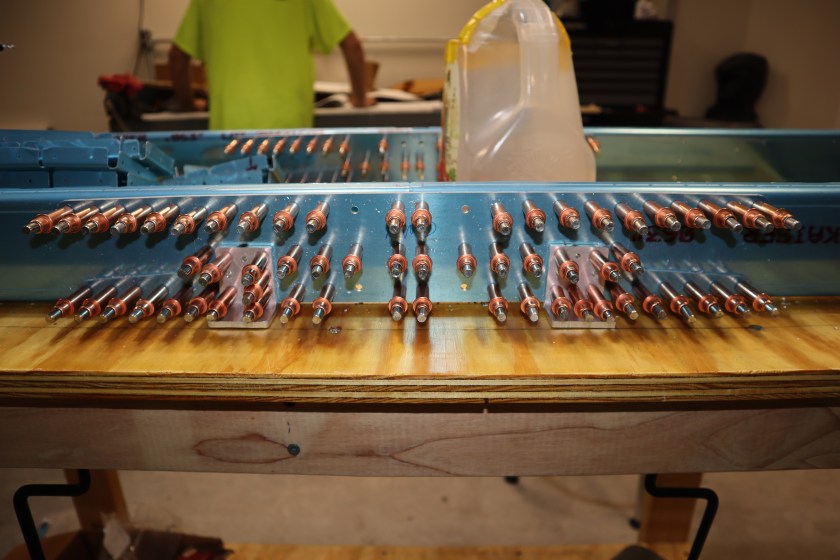
The first that comes to mind is “clecoing”. This is temporarily attaching two pieces of metal together using a specialized tool, called a cleco. The cleco is a spring loaded fastener that when compressed, can fit into a certain sized hole, and when uncompressed the cleco clamps the pieces of metal together. This is accomplished to ensure that parts fit properly together.
Another term that will be used is “matched drilled”. The kit came with most holes already drilled on all the parts. Because there could be small differences in parts, it is important to drill through all material to ensure the holes are exactly inline. In addition, most of the pre-punched holes are slightly smaller than the final hole size. To get the hole to the required size for the rivet, a builder mush drill to the final size. This is normally completed at the same time as match drilling.
So, now that we have some terms in place, back to the build. I started by clecoing the front spar doubler to the front spar, then match and final drilling those holes. Following that, two attach brackets were manufactured out of angle aluminum stock.

After those were fabricated, the rear spar doubler and rear spar were clecoed together, then match and final drilled. This was the start to the skeleton of the horizontal stabilizer. Then main ribs, pieces between the front and rear spar, and nose ribs, pieces on the front spar that face forward and shape the front of the stabilizer, were clecoed, matched and final drilled.

Next this structure was disassembled, and new final drilled holes and edges of the parts were cleaned up. Coming up in Part 2, we add a “skin” to the skeleton.