Now that the tanks are finished, time to rivet the leading edges so they can be added to the spars. Most of the work was already completed before the leading edges were primed. They were just clecoed back in place, and then riveted. This went pretty easily, and next it is on to putting the tanks and leading edges on the wing spar.
So next was putting the tanks and leading edges on the main spar. First the leading edge goes on. Then the tank is added. This helps to ensure there is no sag in the spar when the main skins go on.
This is super exciting! Great progress, even though it is hot outside in Texas now. it really starts to look like a part of an airplane now. Next will be the main wings skins.
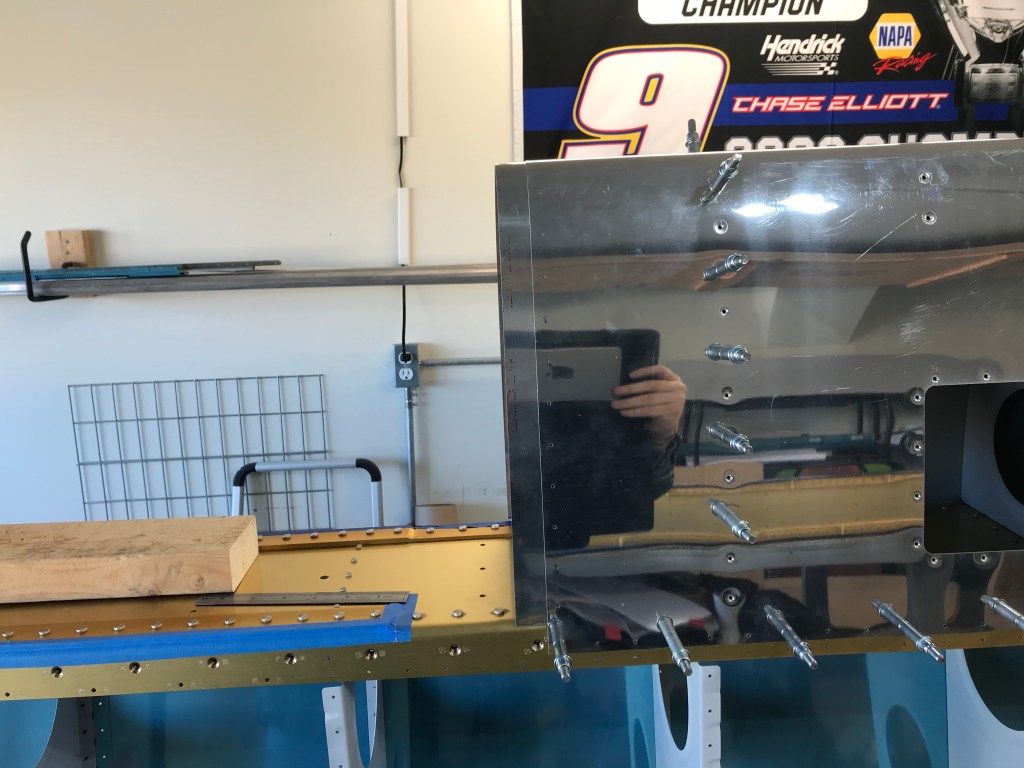
So, now that we have the structure together and the skins on the it, the time has come to fit the fuel tanks and the leading edges. This is the first time that I really got an understanding for how the wing will look and the size. I was surprised. The first step was to attach the leading edge to the spar. this is done by attaching the ribs of the leading edge to the web of the spar (photo one below). Once in place and secured, a splice strip allows the tank to be screwed into it. This means the tank will be screwed into the leading edge.
After leading edge was on, the tank is fitted. It is secured to the spar. Below are pictures of the left wing with both the tank and leading edges on. Big accomplishment.
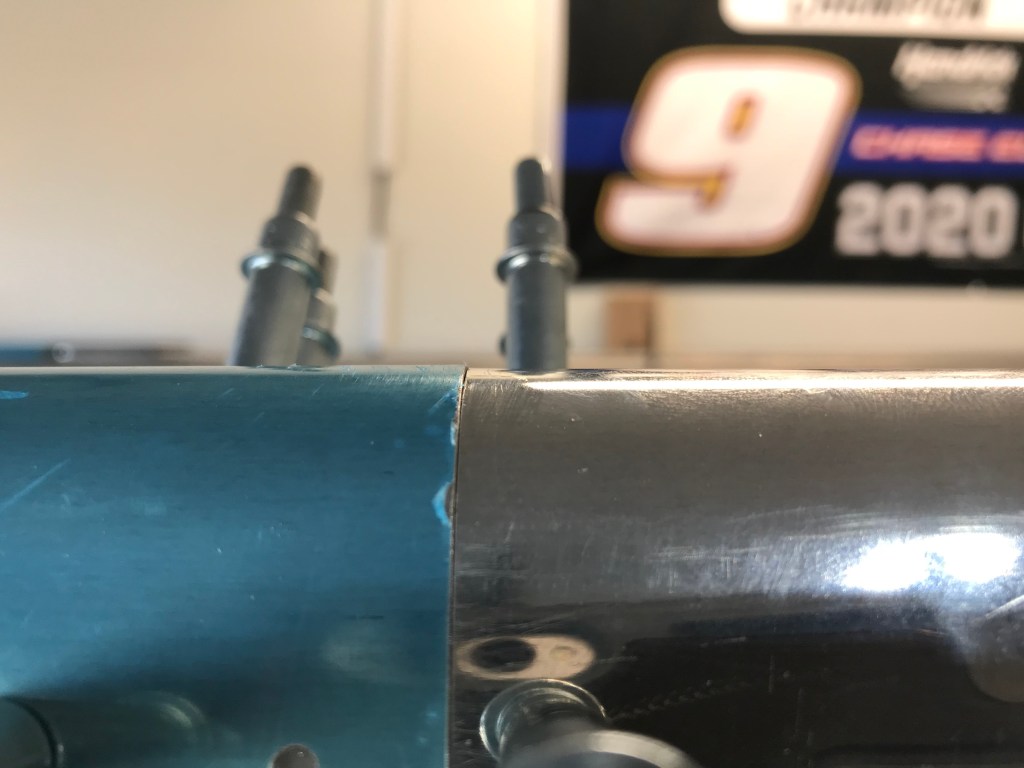
One big factor is how well these two parts line up. They are both made off the wing, and at this point, it would be very difficult to change the shape. Luckily, both the left and the right sets line up very closely, and I deemed it acceptable.
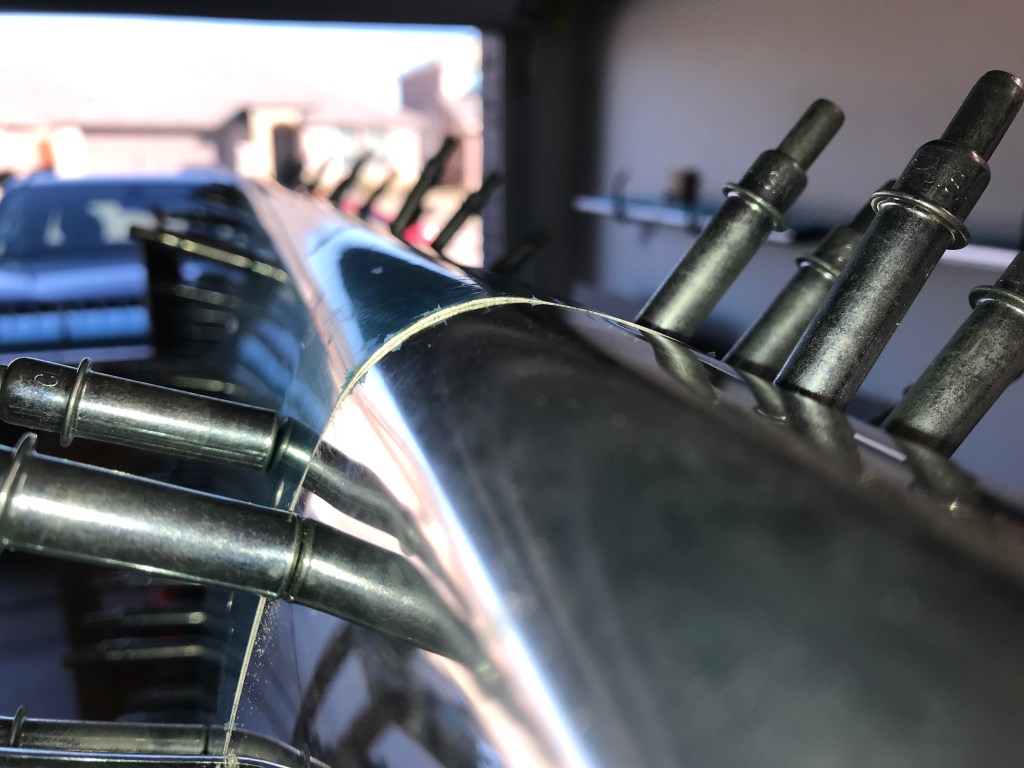
The last little step in attaching the tank for fit, is to drill the attach holes into the “Z” attach brackets. Since you want these to fit perfectly, the center (of three) holes is drilled before going on the spar, but once there the other two are matched drilled. This ensures a perfect fit. Next up will be more fuel tank work!
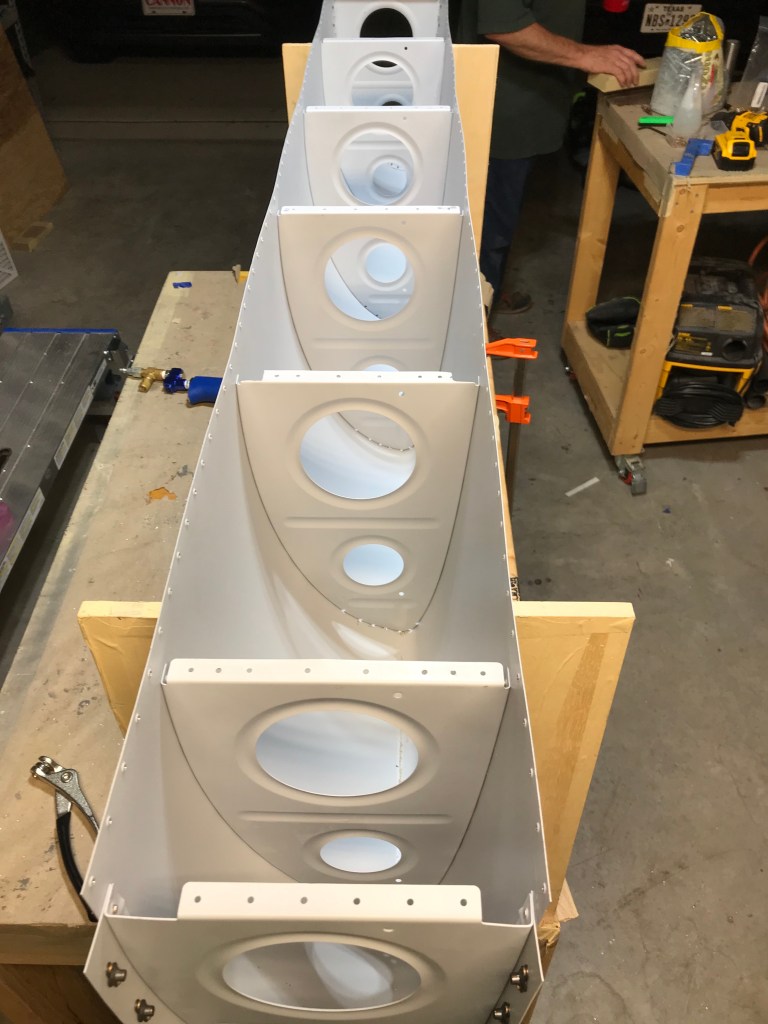
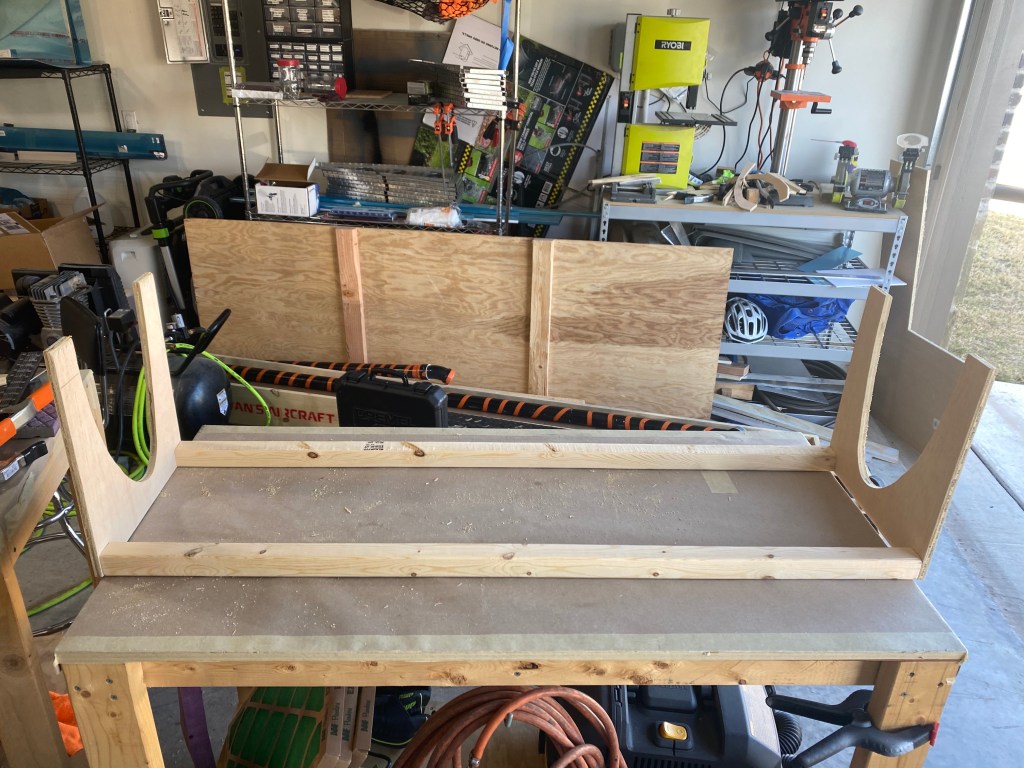
So while waiting to prime the main ribs, the next step was to begin the leading edges. These go on the outboard front of the wing. The main spar and ribs are behind it, and the fuel tank is to the inboard side of it. To start, a cradle is built to hold the skin in shape while you are working on the leading edge. A rib was traced onto some plywood to ensure the right shape was cut out. Then two of them were screwed to some 2x2s to make the cradle. I then decided to add a third holder in the middle. Overall, this was a simple, yet effective design.
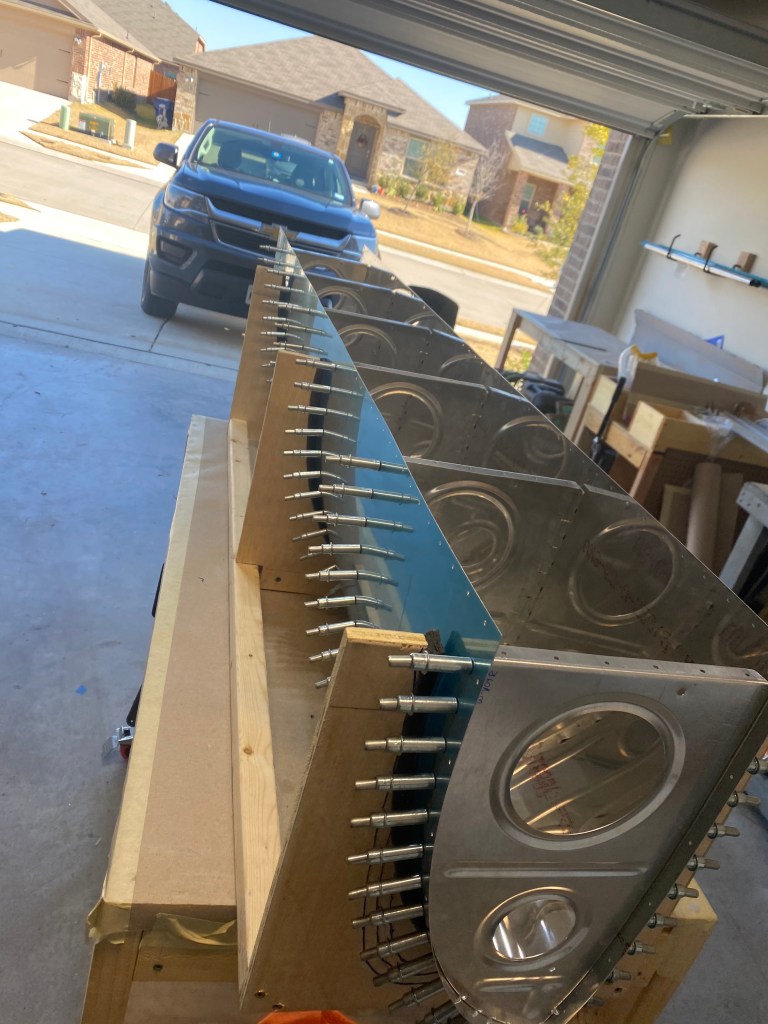
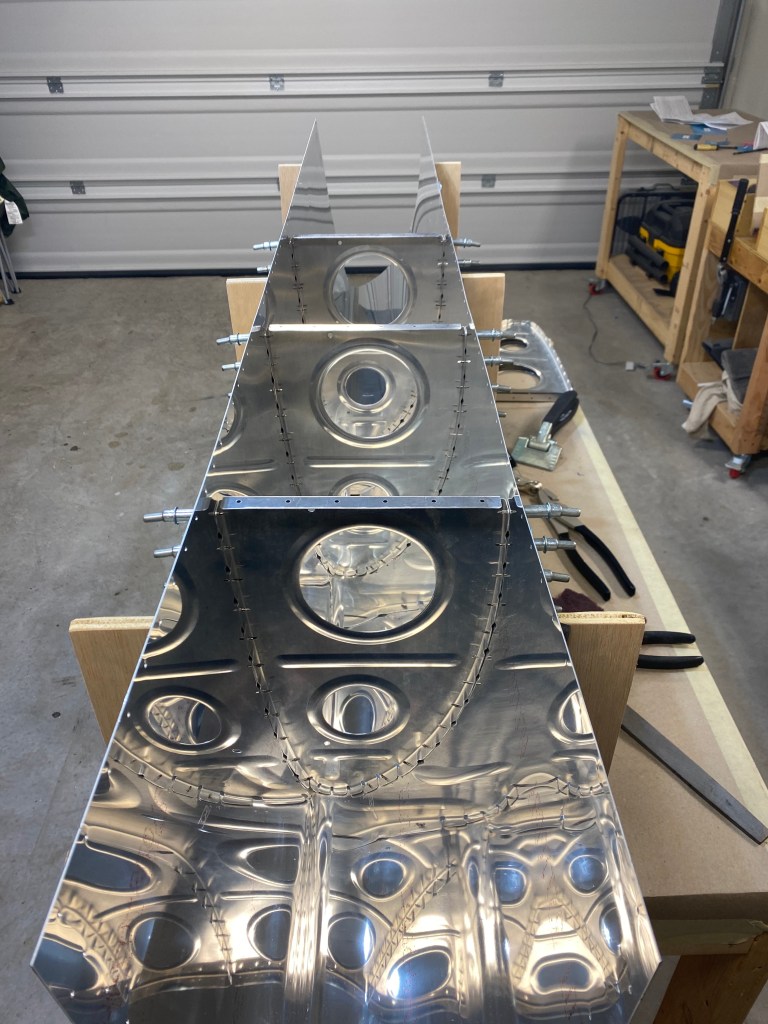
After the cradle was built, I started to work on prepping the ribs to be put in the skin. Once all of the ribs were ready, I started to cleco the ribs to the skin. This was very frustrating. Even with the cradle, the skin is not shaped perfectly, so it takes some time to ensure everything lines up. Eventually it all worked out. And this had to be done for the left and right sides.
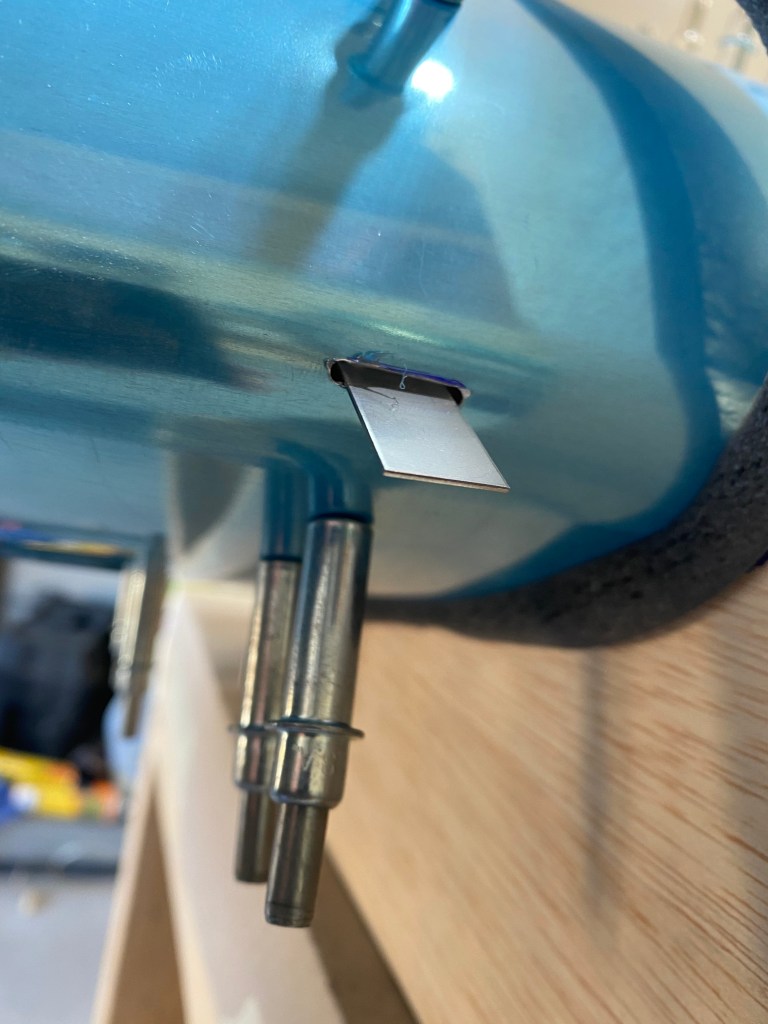
One difference in the leading edges is a stall warner is on the left leading edge. A stall is a loss of lift over the wing, normally due to a high nose up attitude. So, the stall warner is a device that helps to alert a pilot they are approaching a critical nose up attitude. There are newer technologies that help keep pilots aware, but I decided to also install the stall warner in my plane. There is a special bracket that goes in the left leading edge to hold some of the electronics. Then a small metal piece sticks out of the leading edge and when the air flowing over it lifts it, the stall warner goes off in the cockpit. This addition took maybe an extra 30 minutes, but I believe it is worth it. After that was installed, everything was disassembled. Then came the normal demurring, scuffing, dimpling, and priming.