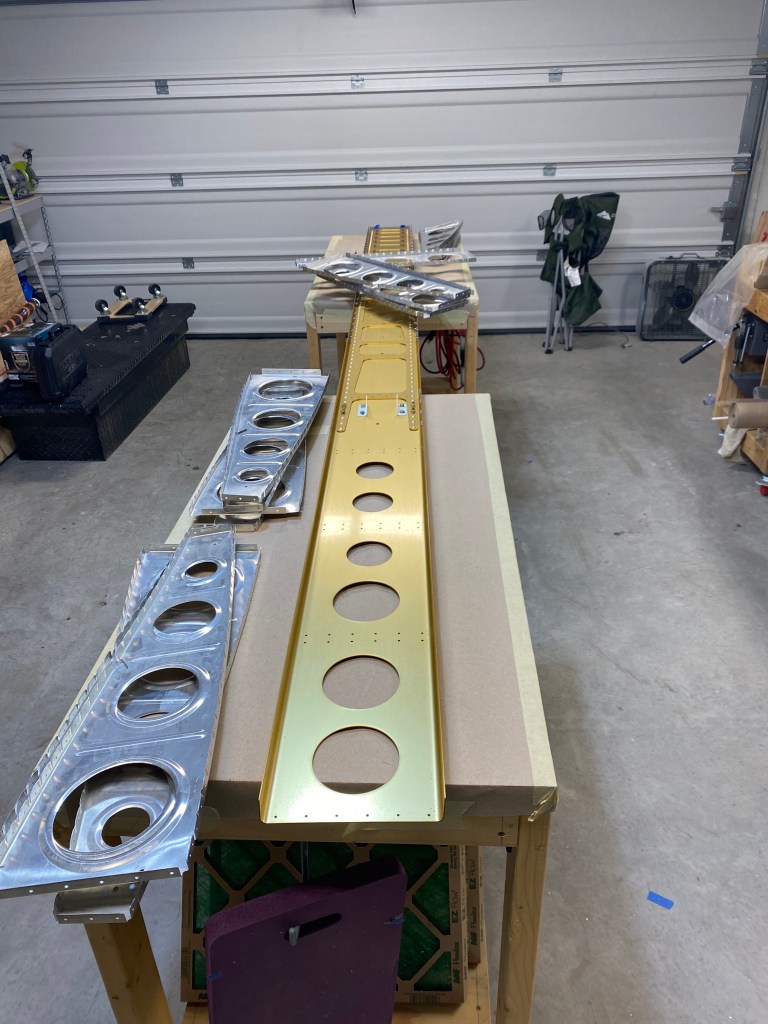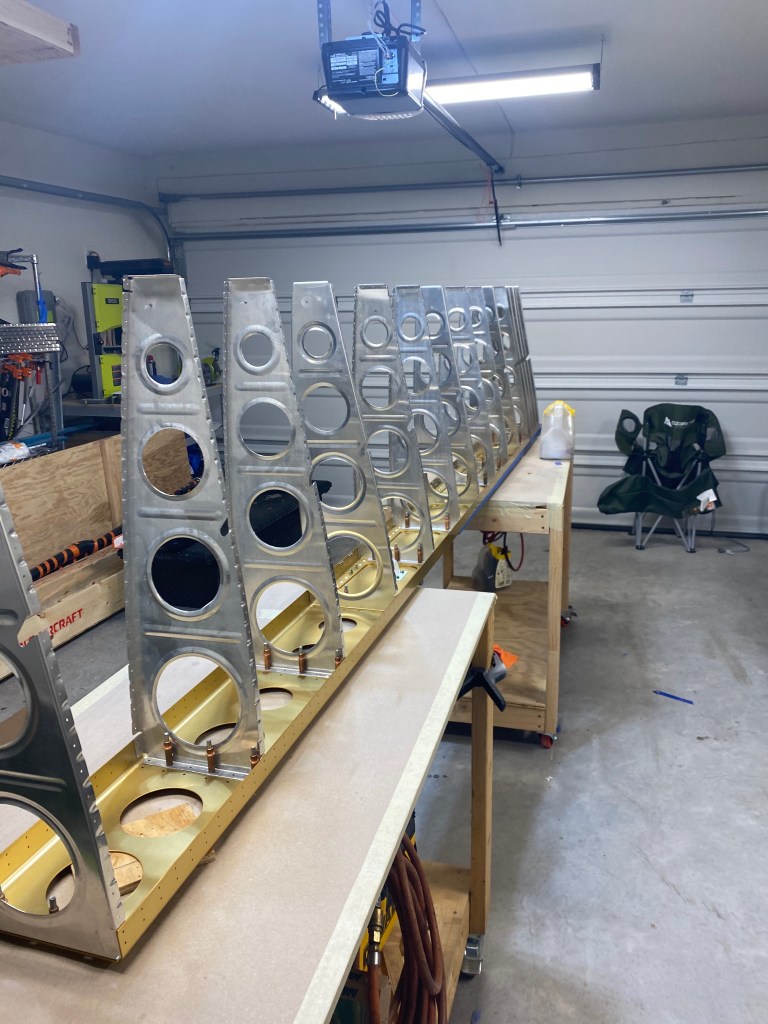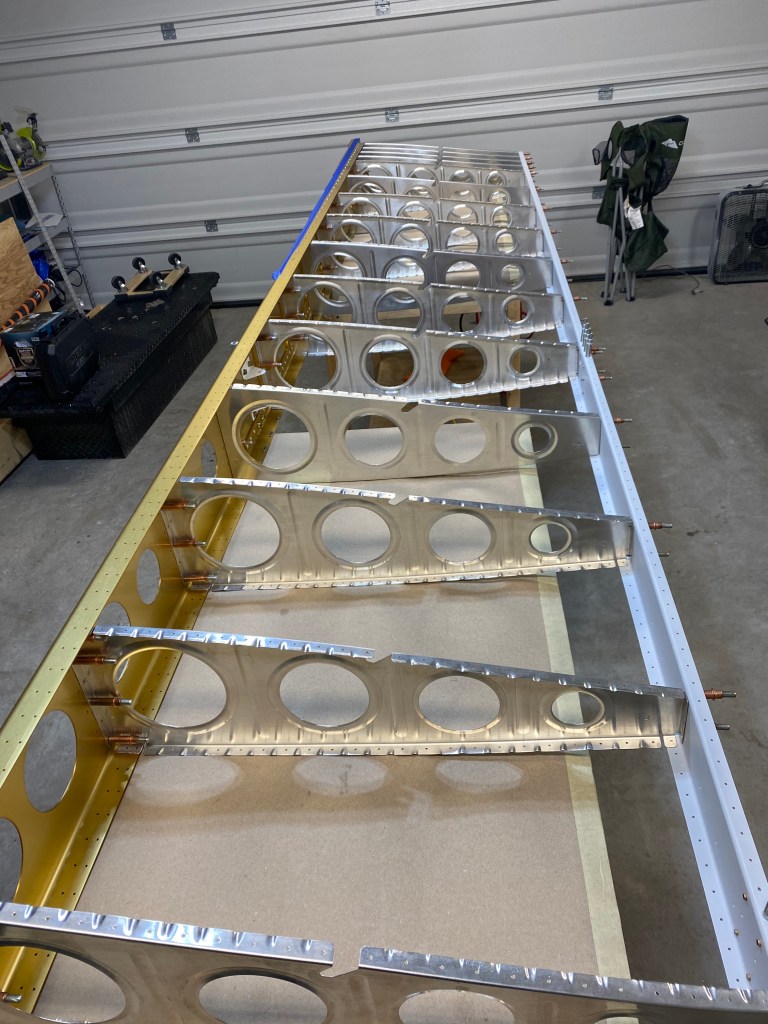
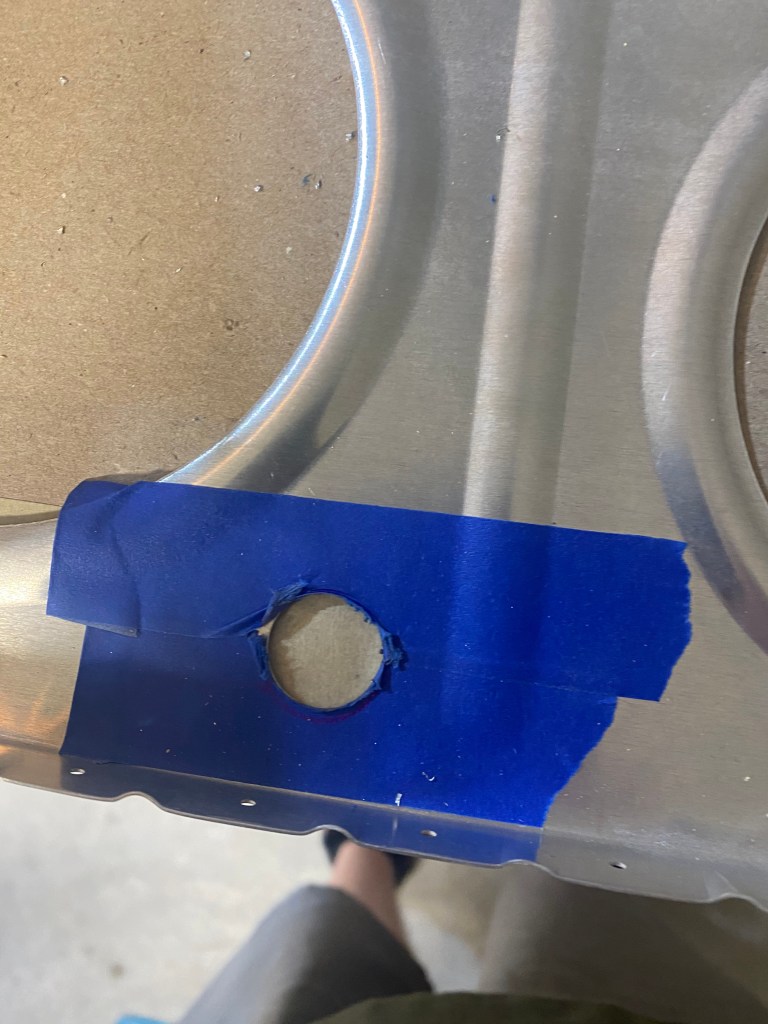
So after match drilling all of the ribs to the spars, it was almost time to prime the parts. Before priming, I drilled a 3/4 of an inch hole in an approved location. This will hold some tubing that will run the electrical wires down the wing. This was accomplished on both left and right wings. The priming took place over the Christmas holiday. Like normal, the parts were scuffed, cleaned, and primed with Stewart System’s Eko-Prime.

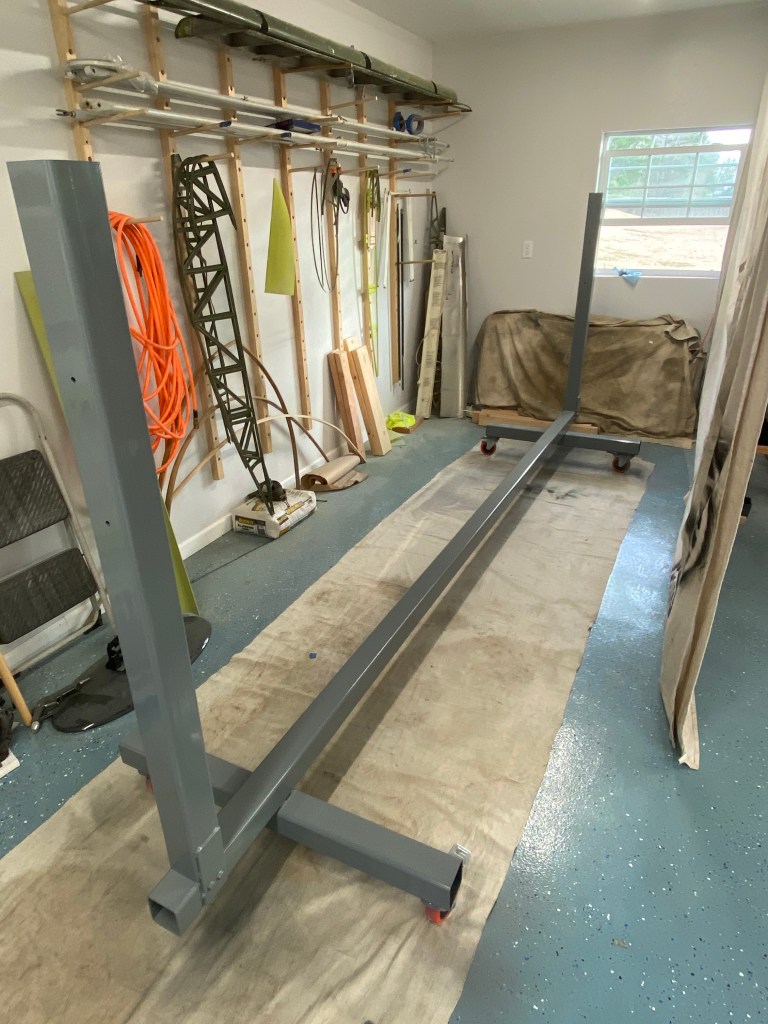
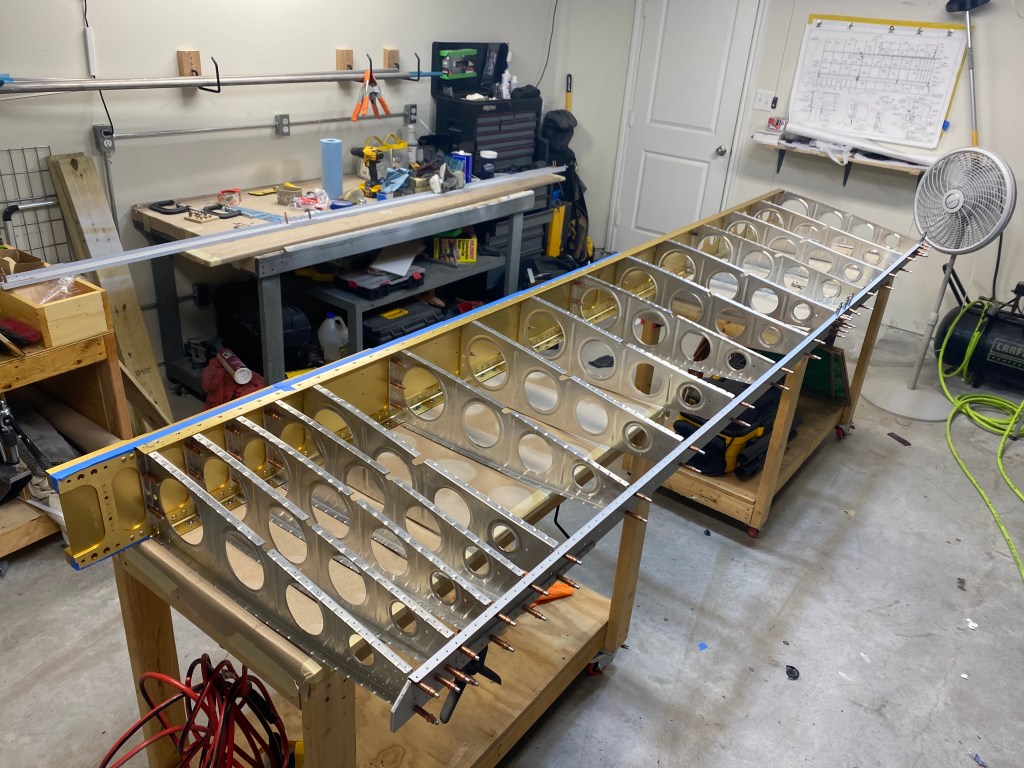
In order to build the wings it helps to have a stand for them. My dad helped me design and build a rigid structure for the wings. Being the nerd I am, I built the stand in a 3D modeling software during some spare time. There are no doubts in my mind about the strength of this stand. Its constructed out of 3 inch square tubing that is roughly 3/16 inches thick. Then the different pieces are welded together, and some support braces are used for extra strength. When all was said and done, I gave it the ole kick test, and it passed with flying colors!