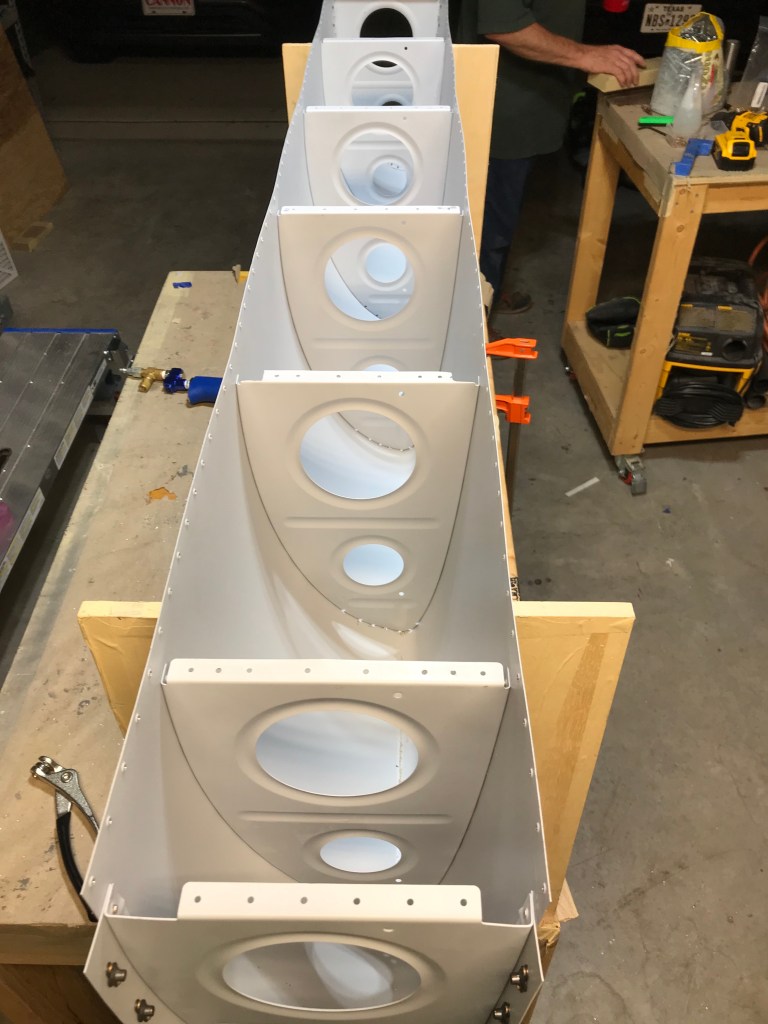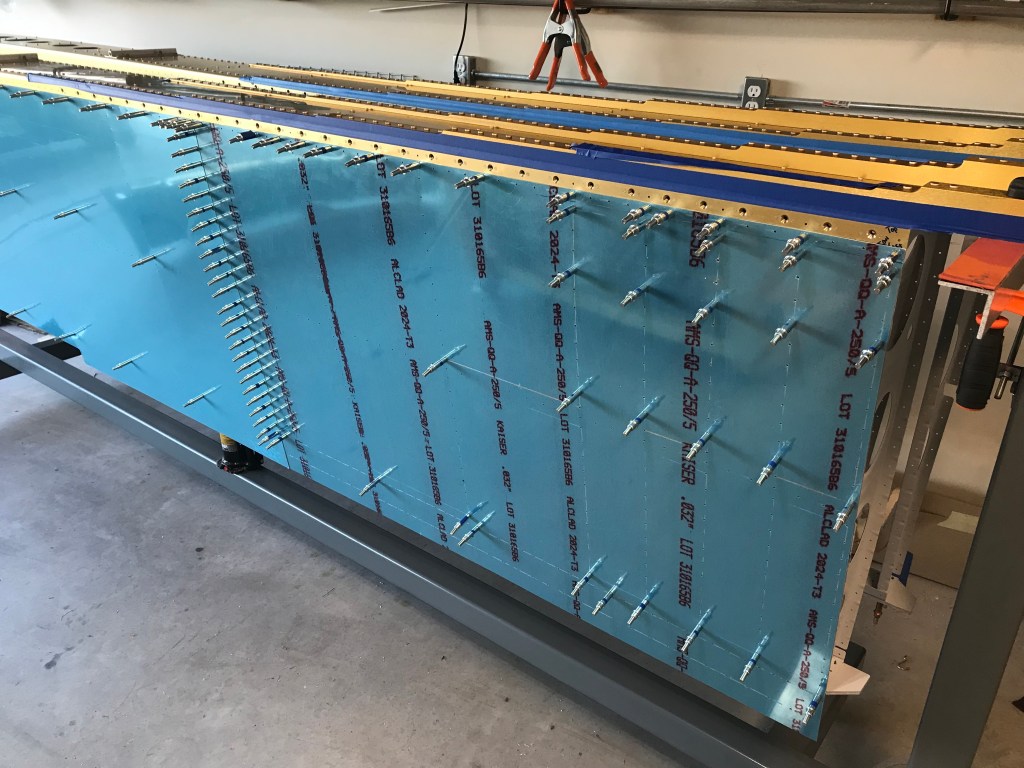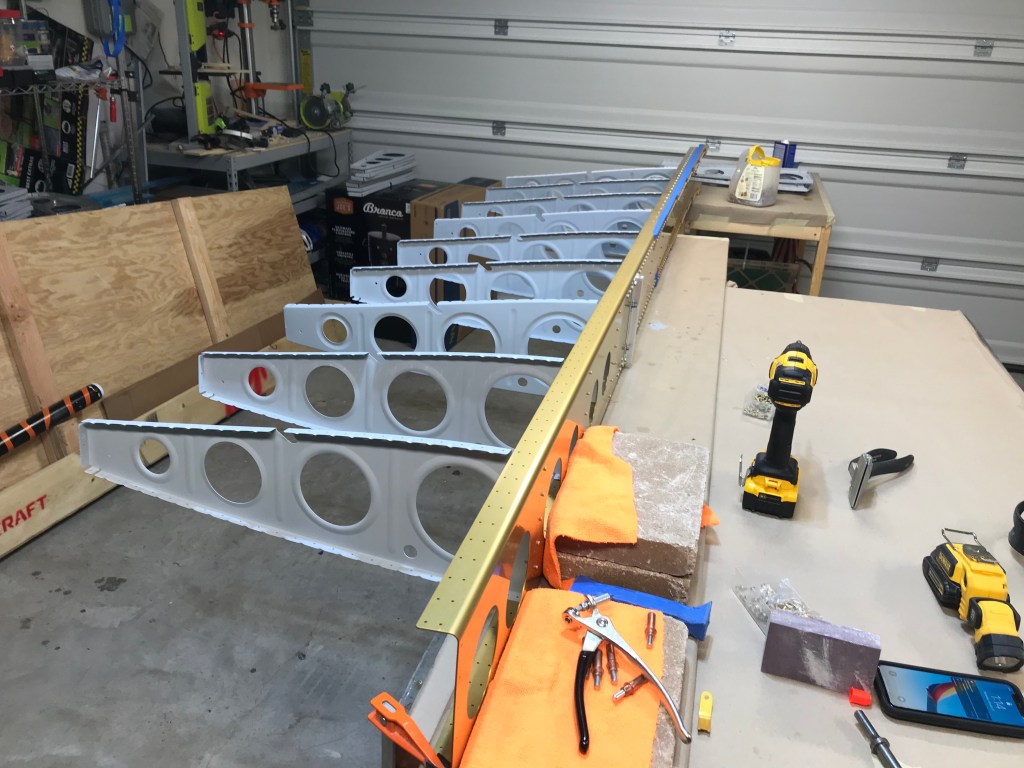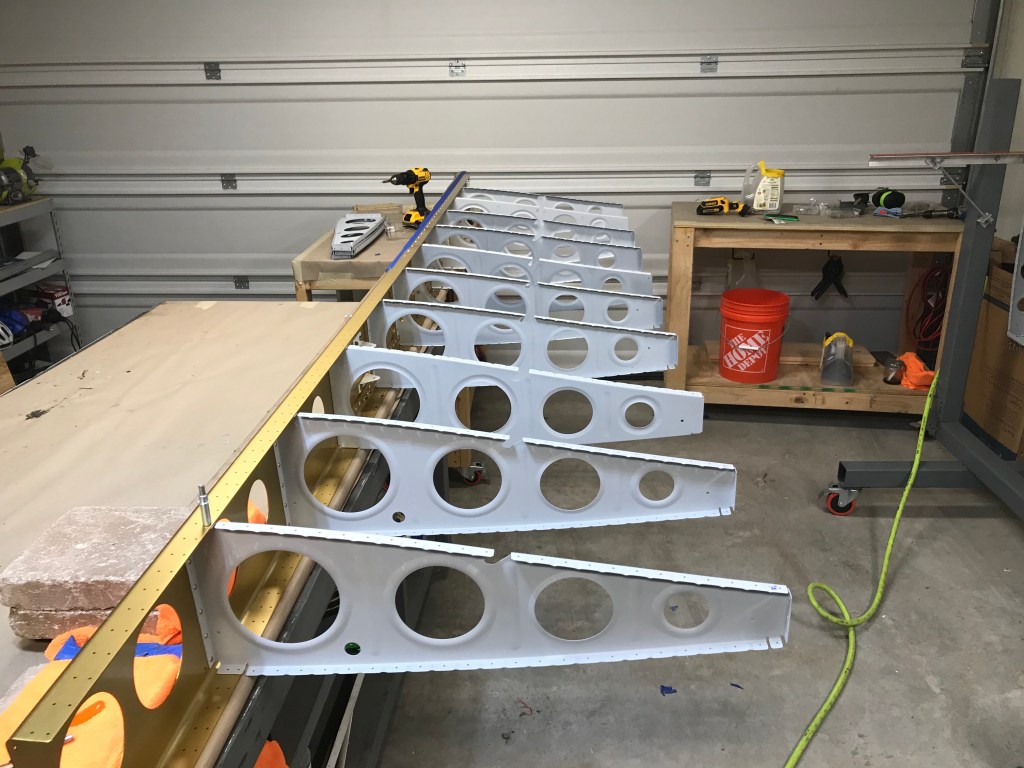
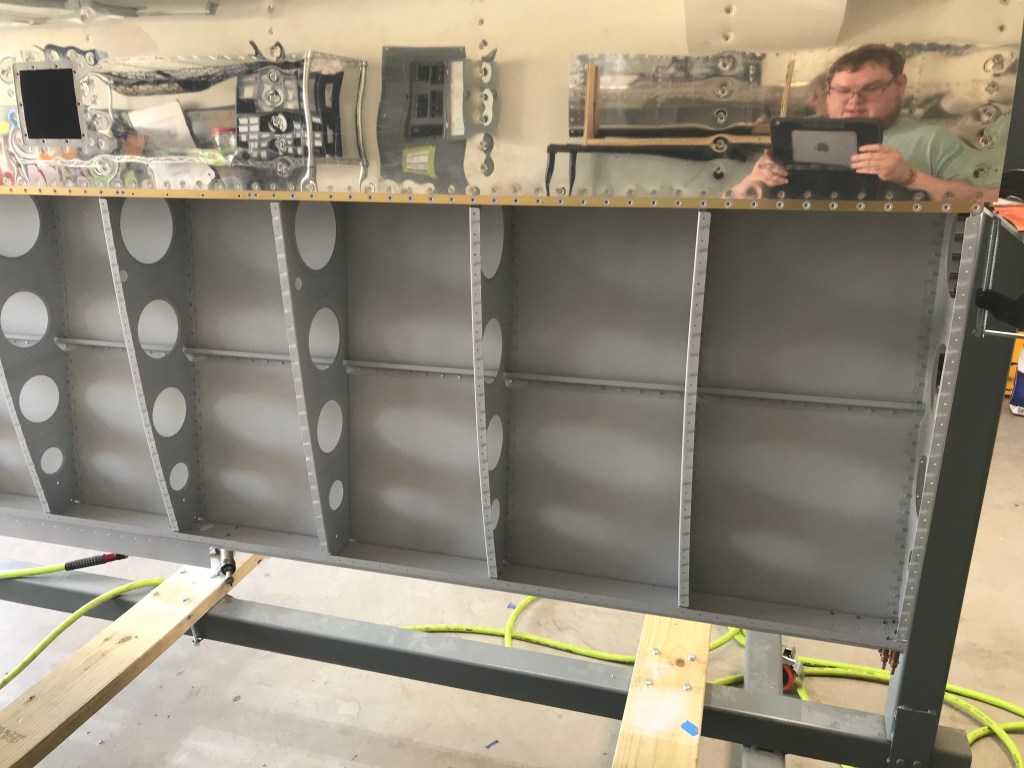
So now that the fuel tank and leading edge is on the wing, now it is time to add the top skins. We started with the inboard top skin and wing walk doubler. In the first picture below you can see five ribs very close to each other. The large number of ribs in a small area designed to disperse the weight of a passenger or pilot while entering or exiting the aircraft. There is an extra piece of skin in between the ribs and the actual skin to help with the dispersement.
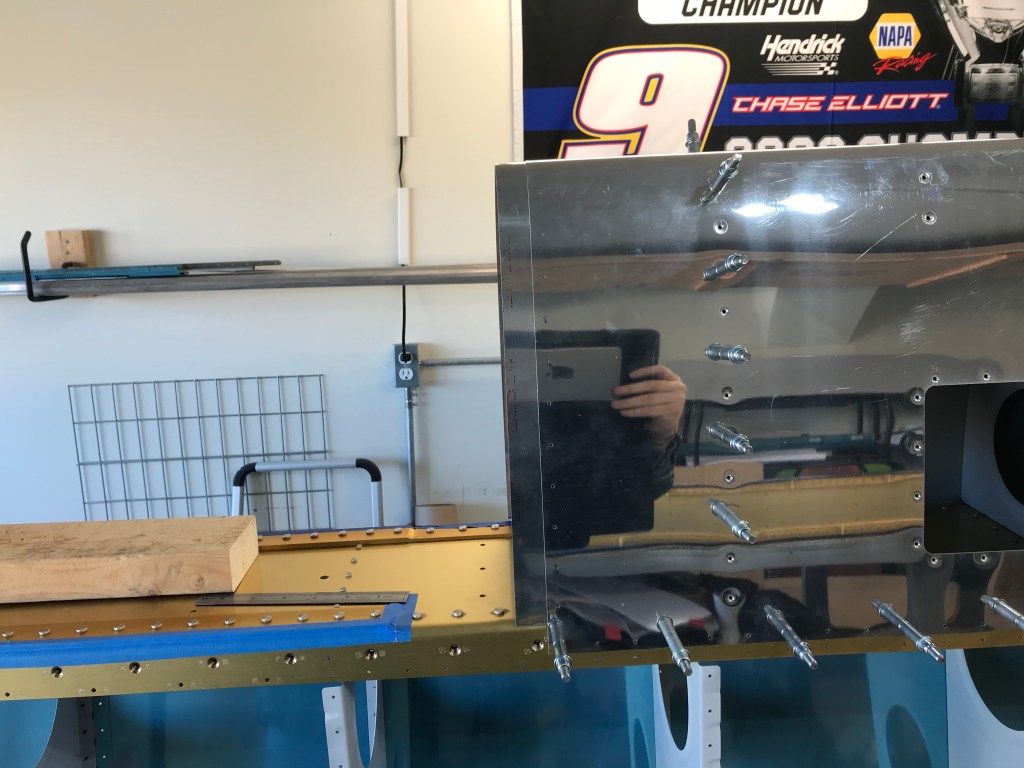
After getting the skins in place and clekoed in place my dad and I began riveting. He was on the inside, and I was on the outside. Once the inboard skin was on, we put on the outboard and continued.
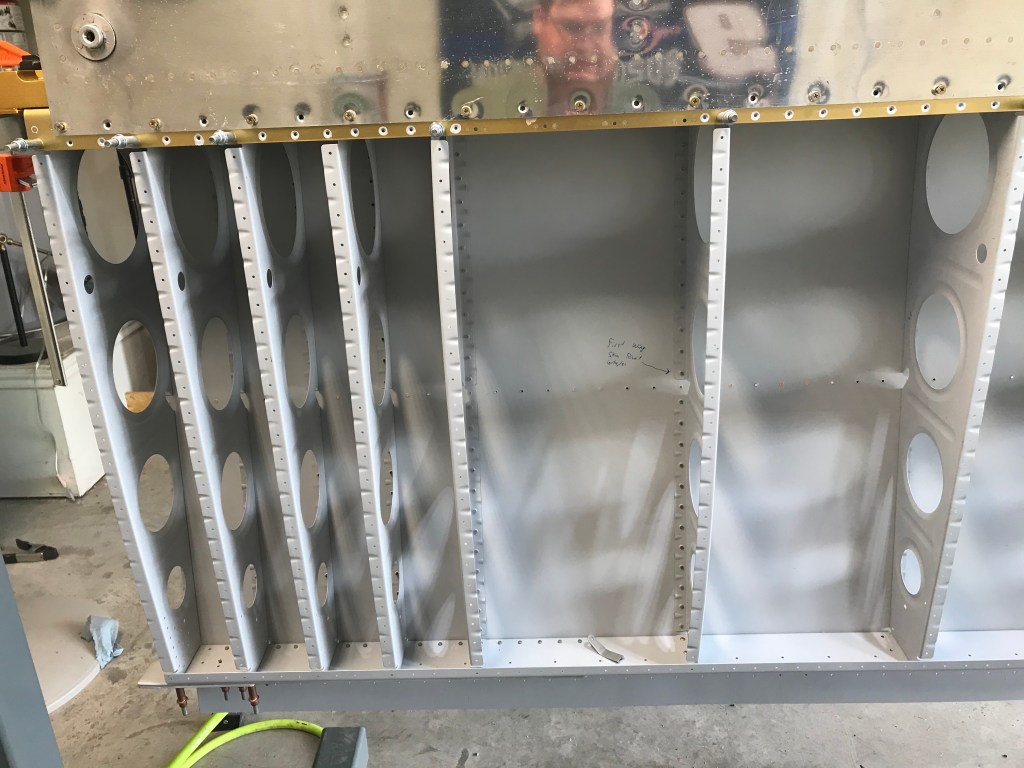
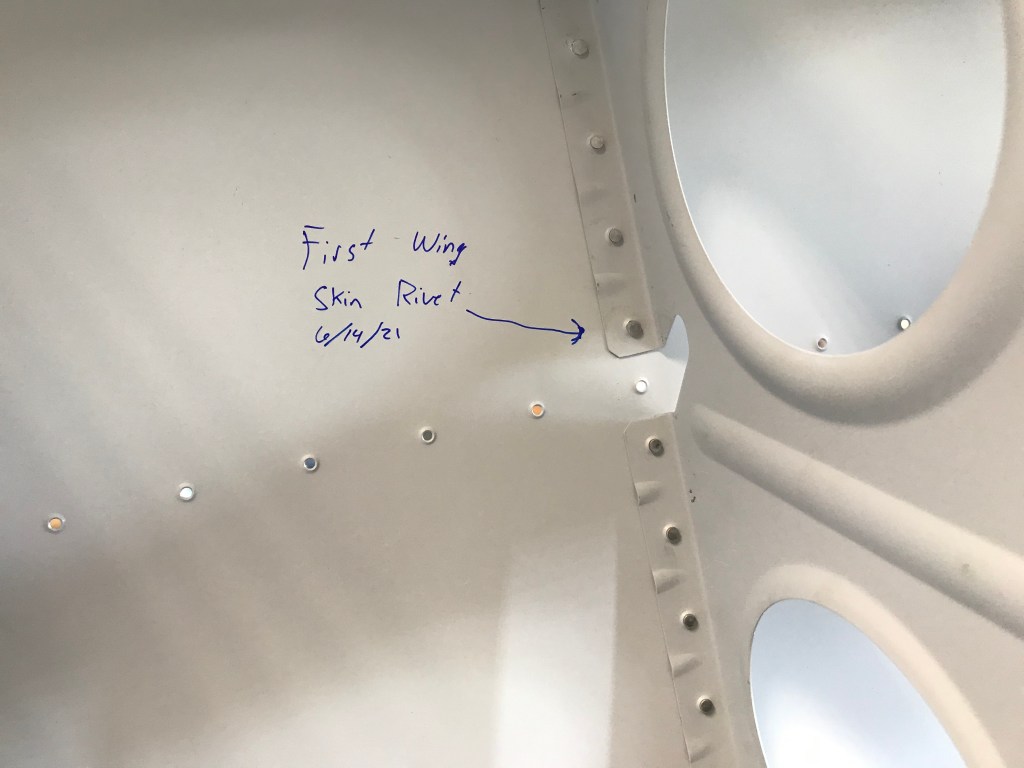
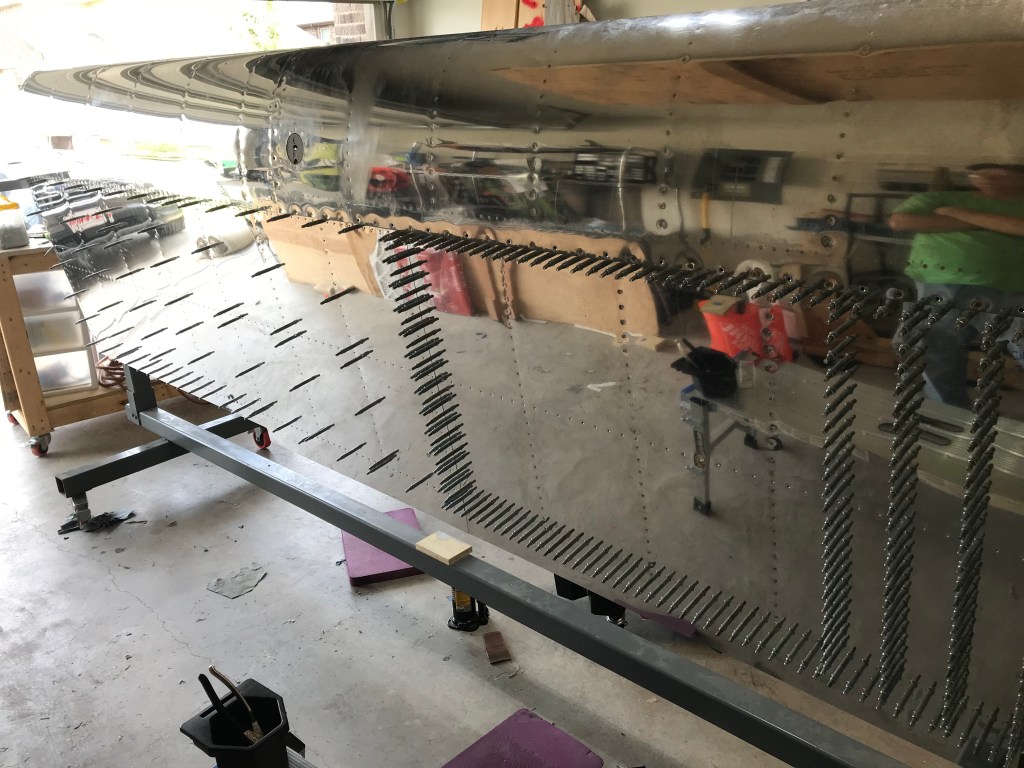
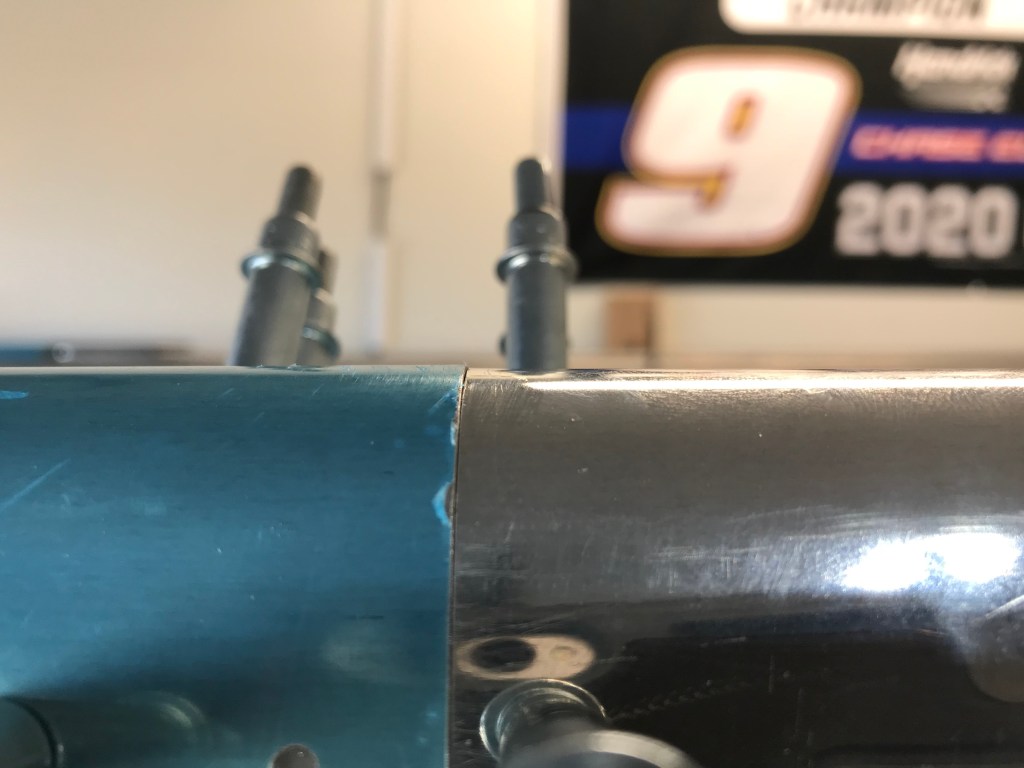
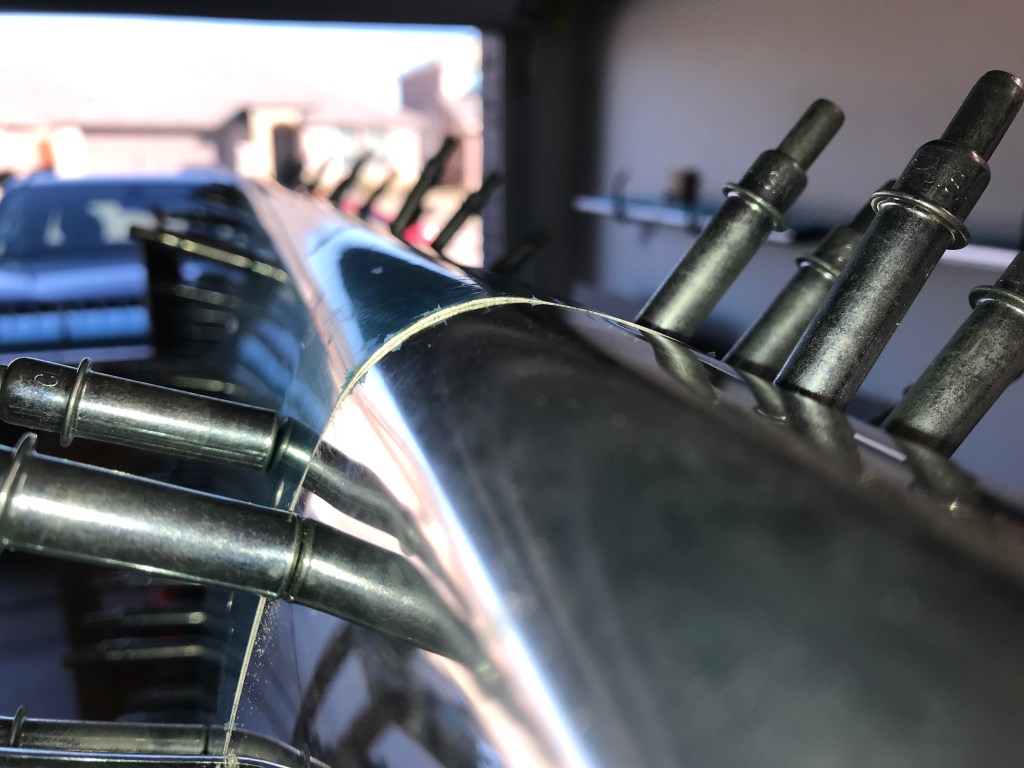
We started close to the middle and worked our way to the outsides. Once both the inboard and outboard skins were attached, a J stiffener was added down the middle. This helps to add stiffness to the structure. Finally, the top skin was completely riveted to the structure. This was a big moment. I was also surprised how rigid the structure was.


Now that this is all done, time to do it all again to the other wing!